Released 7/29/26
Orthodontic documentation is often fragmented, inconsistent, and time-consuming. Clinicians rely on screenshots or external editors to assemble progress reports, leading to inconsistent presentation, increased chairside/admin time, data fidelity risks, and friction when attaching documentation to claims and pre-authorizations. However, in Dentrix Ascend Imaging, you can now quickly compose an orthodontic report by dragging images into predefined slots. You can also export or print the report to share it with the patient. So, this new orthodontic report allows you to rapidly create, save, and share composite image documents for treatment planning, claims, and patient communication without sacrificing image quality or workflow efficiency.
Note: The Ortho Report is available as part of the Orthodontics package, which is an add-on feature that you can purchase separately from your Dentrix Ascend subscription.
To create an Ortho Report
1. While viewing a patient’s clinical record, on the Imaging tab’s menu, select Acquire Images.
The options for acquiring images become available.
2. On the Standard tab, click Ortho Report.
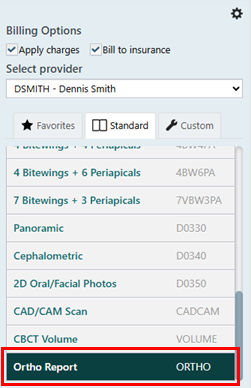
Note: The “Ortho Report” option in Dentrix Ascend Imaging corresponds to the “ORTHO-REP” procedure code in Dentrix Ascend. However, creating an Ortho Report in Dentrix Ascend Imaging does not post a procedure to the patient’s record in Dentrix Ascend.
The Ortho Report options appear.
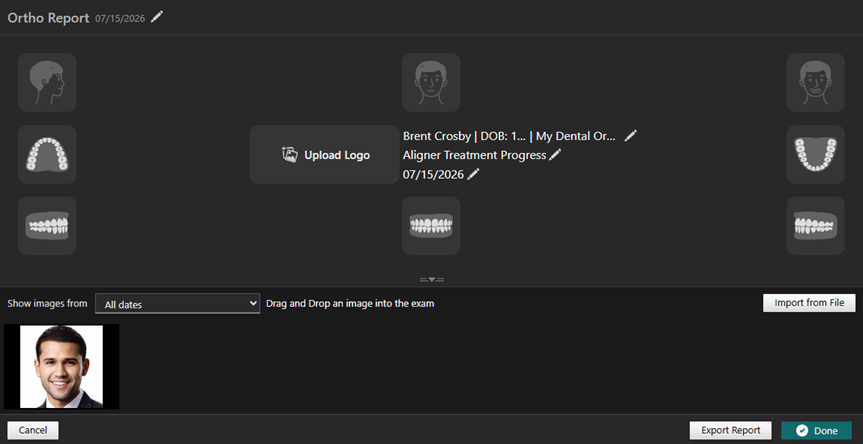
3. For the report, do any of the following as needed:
To change the report creation date, in the upper-left corner, next to “Ortho Report” and the date, click the pencil icon, and then select the correct date on the calendar that appears.

To change the organization name, next to the organization name in the middle, click the pencil icon to make the name editable, enter the organization name that you want to appear on the report, and then click outside the box.


To change the title for the treatment, next to the title in the middle, click the pencil icon to make the title editable, enter the title for the treatment as you want it to appear on the report, and then click outside the box.


To change the date that appears on the report, next to the date in the middle, click the pencil icon to make the date editable, enter the date that you want to appear on the report, and then click outside the box.


To add a logo to the report, do the following:
a. Click the Upload Logo box in the middle.

The Open dialog box appears.
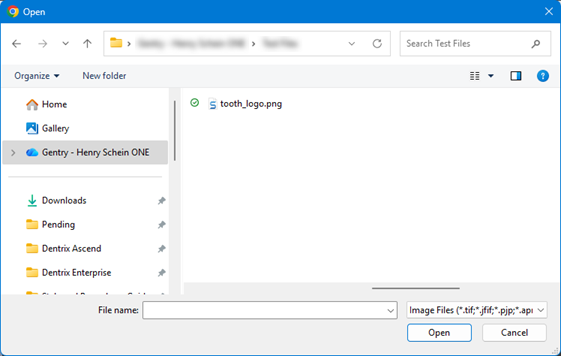
b. Locate and select the desired image.
Note: The following file types are supported: .tif, .jfif, .pjp, .apng, .xbm, .jxl, .jpe, .jpeg, .heif, .ico, .tiff, .webp, .svgz, .jpg, . heic, .gif, .svg, .png, .bmp, .pjpeg, and .avif.
c. Click Open.
The selected image appears in the logo box in the middle.

Any existing 2D Oral/Facial Photos appear on the lower panel’s filmstrip (as indicated by All dates in the Show images from list). To filter the list to show images for a specific date only, select that date from the Show images from list (only dates for the patient’s existing 2D Oral/Facial Photos are available in the list).

To import images from an external folder or drive (such as from a DSLR camera), do the following:
a. Click Import from File.
The Open dialog box appears.
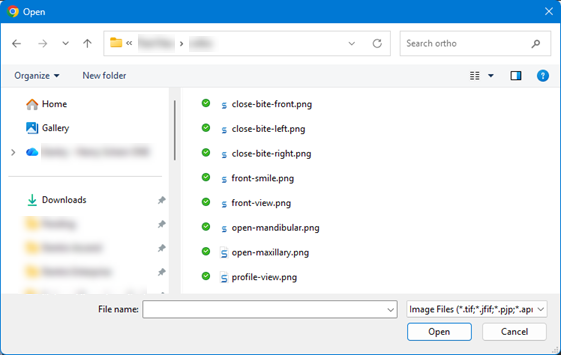
b. Locate and select the desired images.
Note: The following file types are supported: .tif, .jfif, .pjp, .apng, .xbm, .jxl, .jpe, .jpeg, .heif, .ico, .tiff, .webp, .svgz, .jpg, . heic, .gif, .svg, .png, .bmp, .pjpeg, and .avif.
c. Click Open.
The selected images appear on the filmstrip.

To add images to the report, drag images from the filmstrip into any of the eight predefined slots.
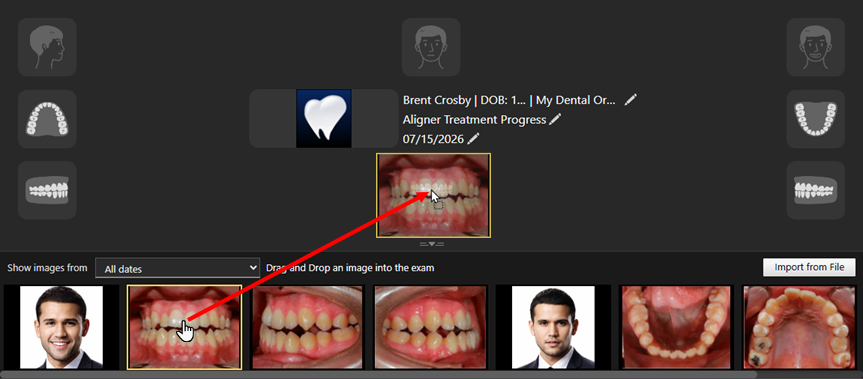
Note: When you drag an image into a slot, a toolbar appears automatically so you can immediately adjust the image if needed.
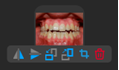
To adjust an image in a slot, click that image to view a toolbar, and then perform any of the following adjustments as needed: Mirror Horizontally, Mirror Vertically, Rotate 90° Counterclockwise, Rotate 90° Clockwise, and/or Crop (see details below).
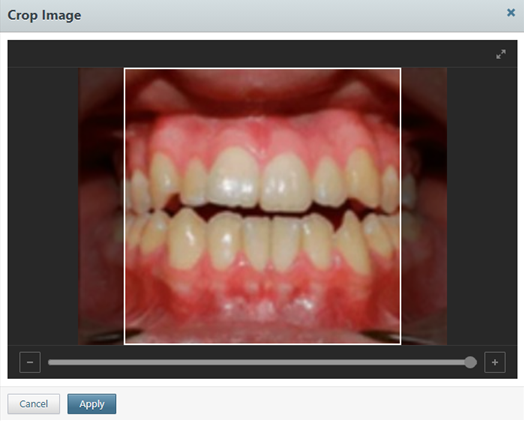
When you click the Crop icon, the Crop Image dialog box appears. You can change the size of the bounding box by dragging the slider bar’s handle or by clicking its – and + buttons. You can drag the bounding box to a different area of the image. Then, click Apply.
To adjust the brightness of an image in a slot, drag up or down after positioning your pointer over that image.
To adjust the contrast of an image in a slot, drag left or right after positioning your pointer over that image.
Note: Adjustments are applied only to the slot’s image. The original image is unaffected, and full resolution is preserved.
To replace an image in a slot, you can drag a different image from the filmstrip into that same slot, or you can click the trash can icon on the toolbar that appears when you click the image in that slot.
4. To export the report as a high-quality PDF document so it is ready to be printed and shared with the patient, click Export Report. The PDF document is downloaded or opens on a new browser tab.
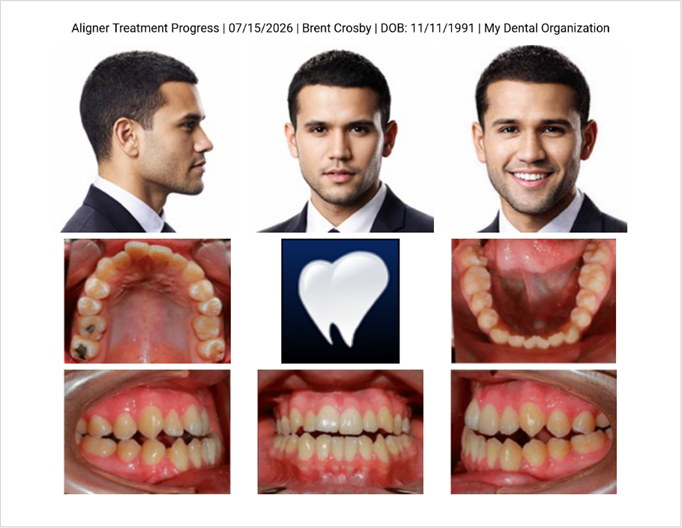
Notes:
- The report fits on an 8.5×11-inch sheet of paper with 0.5-inch margins.
- The report is printed with a landscape orientation.
After you have printed the PDF document, return to the tab displaying the report options in Dentrix Ascend Imaging.
5. To save the report, click Done.
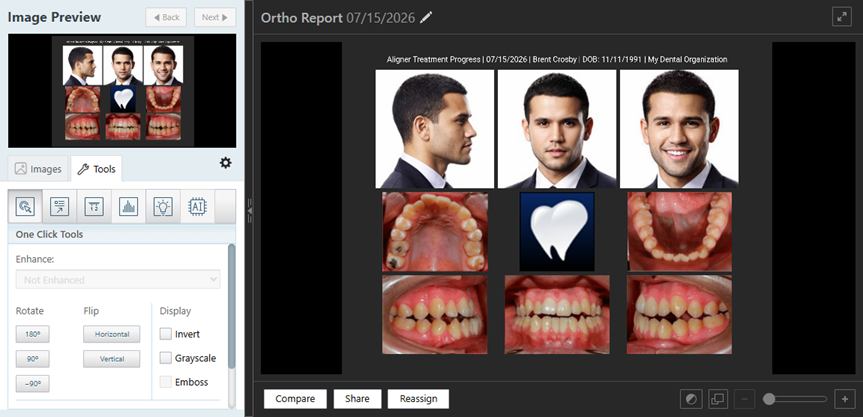
The report is saved as an image that cannot be modified. The report opens in the single-image view mode.
Exam View
Modality View
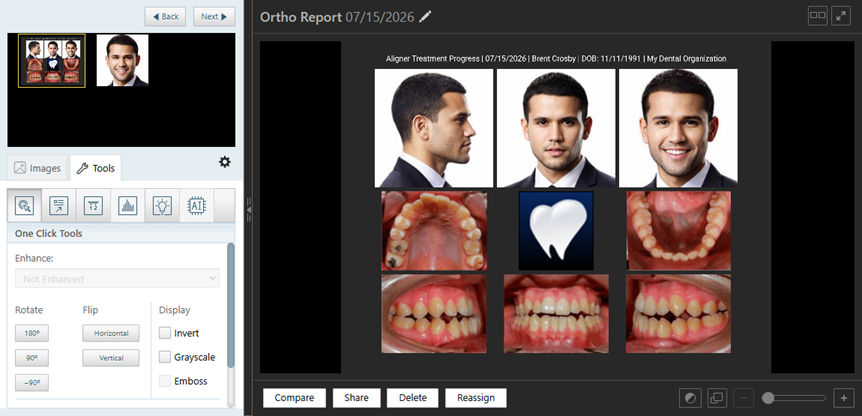
Notes:
- When you are viewing the report, it is displayed automatically at the largest possible size. The zoom level is automatically set so the full report fits within the viewer while maintaining the correct image aspect ratio.
- If you switch to full screen mode, the same “fit to viewer” zoom behavior is applied to maximize the report size within the full screen.
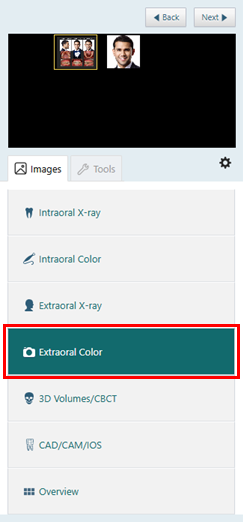
In the Exam View, on the Images tab, the report appears as an “Ortho Report” exam (which is an Extraoral Color exam).
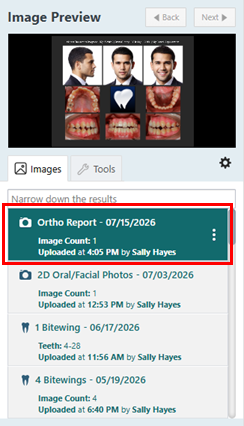
In the Modality View, on the Images tab, the report is available if the Extraoral Color modality is selected.