
Released 8/6/26
Enhancements have been made to future payment plans, most of the changes affect the efficiency of creating future payment plans from patients’ treatment plans.
Notes:
- For information about the original release of future payment plans, see the “Future Payment Plans” release notes.
- Future payment plans are included in the Orthodontics package (an add-on feature that you can purchase separately from your Dentrix Ascend subscription).
Treatment Plan
When you create a future payment plan while presenting a patient’s treatment plan, the following changes have been implemented with this release:
- For the Treatment Information step:
- Previously, no Provider was selected by default.
- Now, the Provider who is associated with the planned procedure is selected by default.
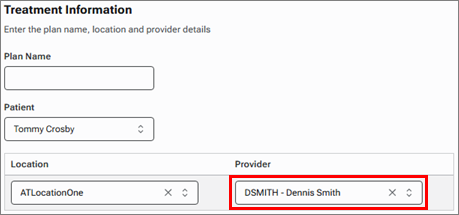
- Previously, no Provider was selected by default.
- For the Plan Terms step:
- Under Coverage and Responsibility:
- Previously, financial details from the Case Overview step did not pre-populate any fields.
- Now, financial details from the Case Overview step pre-populate the applicable fields.
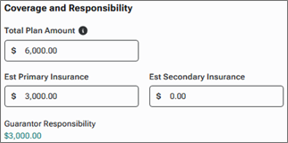
- Previously, financial details from the Case Overview step did not pre-populate any fields.
- Under Billing Codes and Charges:
- Previously, D8670 was selected by default as the Code for the Interval Charge.
- Now, no Code for the Interval Charge is selected by default. Select a code, such as D8670.
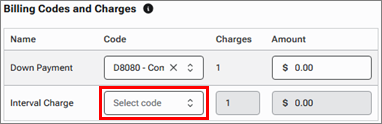
- Previously, D8670 was selected by default as the Code for the Interval Charge.
- Under Coverage and Responsibility:
Ledger
When you create a future payment plan from a patient’s ledger, the following change has been implemented:
- For the Plan Terms step:
- Under Billing Codes and Charges:
- Previously, D8670 was selected by default as the Code for the Interval Charge.
- Now, no Code for the Interval Charge is selected by default. Select a code, such as D8670.
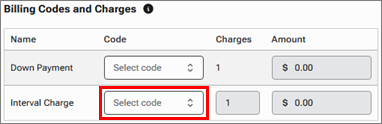
- Previously, D8670 was selected by default as the Code for the Interval Charge.
- Under Billing Codes and Charges:
Treatment Plan or Ledger
Regardless of how you start the creation of a future payment plan, the following changes have been implemented:
- For the Finalize and Pay step:
- From the Agreement Options list, if you choose to print the agreement:
- Previously, the practice’s logo did not appear on the first page.
- Now, the practice’s logo appears in the upper-left corner of the first page.

- Previously, the practice’s logo did not appear on the first page.
- After you click Process Card and Activate Plan:
- Previously, you had to edit the posted procedure to specify the placement date and number of months remaining.
- Now, a dialog box appears so you can specify the placement date and number of months remaining. That information is added to the procedure when it is posted.
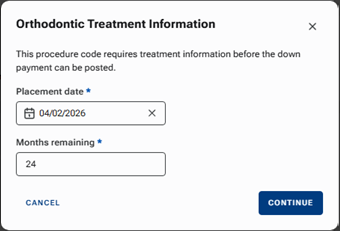
- Previously, you had to edit the posted procedure to specify the placement date and number of months remaining.
- From the Agreement Options list, if you choose to print the agreement: