Released 4/1/26
Dentrix Ascend Voice Notes is an AI-assisted note taking feature that allows you to capture full exams in real-time and automatically write structured clinical notes directly into Dentrix Ascend. Voice Notes effortlessly turns spoken interactions into accurate notes, reducing paperwork and improving record accuracy, allowing dentists to focus more on patients. Turn after-visit dictation into structured notes in seconds with Voice Notes—faster than typing, with fewer missed details. A real-time checklist during dictation ensures everything is captured, and saved to the chart, reducing claim rejections and rework.
Notes:
- Voice Notes was built in collaboration with Amazon Web Services (AWS).
- For information about Voice Perio, see the release notes.
Onboarding
To help you get started with Voice Notes, an onboarding tool is available. Before you use Voice Notes, complete the onboarding steps.
To get started with Voice Notes
1. Click the AI icon on the main toolbar (at the top of the page).


The Welcome screen of the Voice Notes onboarding pop-up box appears.
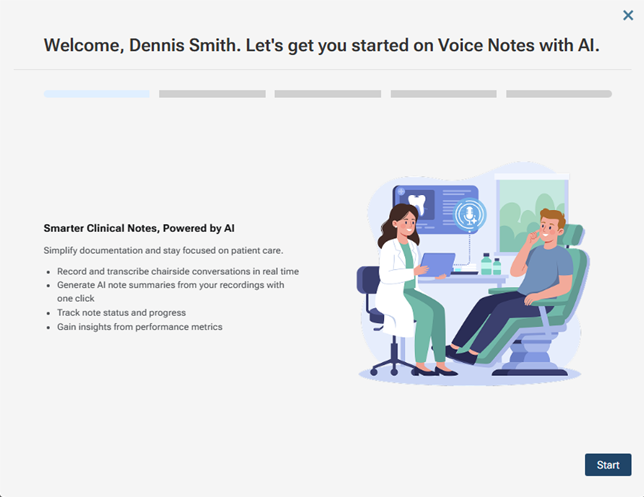
2. Click Start.
The next screen appears.
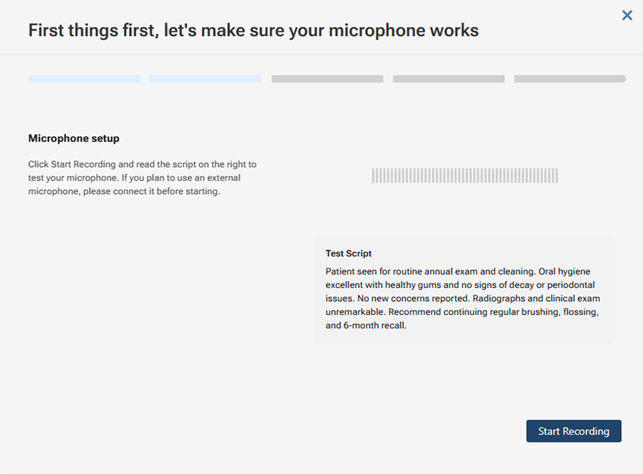
3. Click Start Recording.
4. If the browser asks you to allow the website to use your microphone, click Allow while visiting the site.
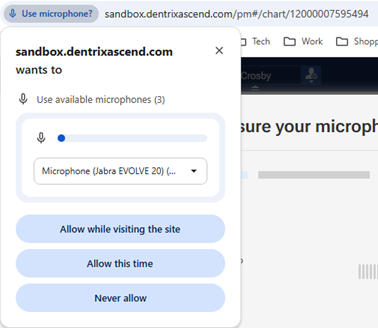
If the microphone is connected, a green message appears.

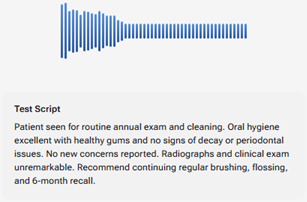
5. Begin reading the text in the Test Script box.
As you read, the volume indicator fluctuates.
When you have dictated the whole text, your speaking speed appears on the left.
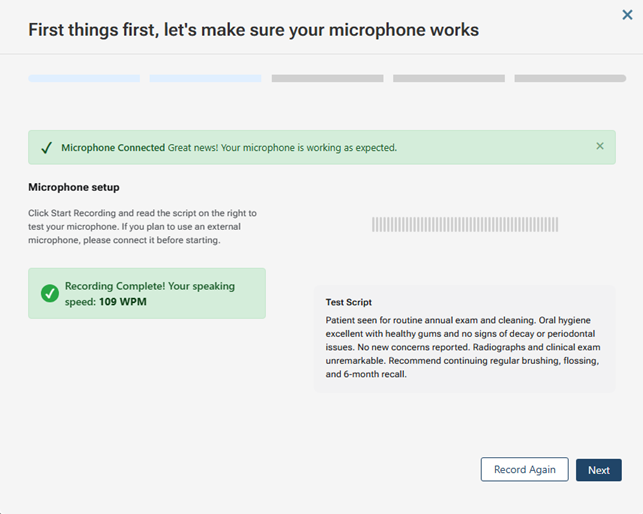
6. Click Next.
The next screen appears.
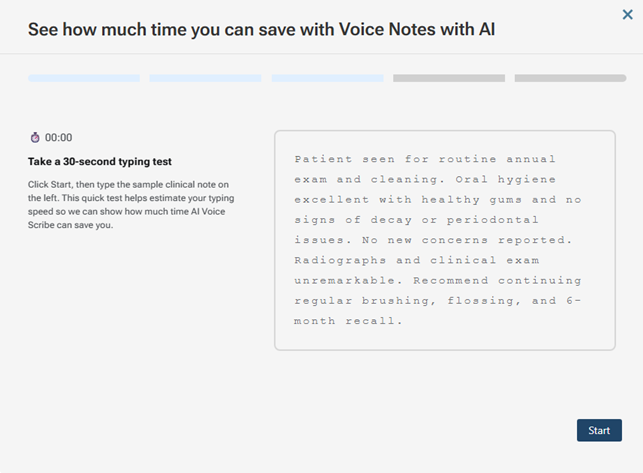
7. Click Start.
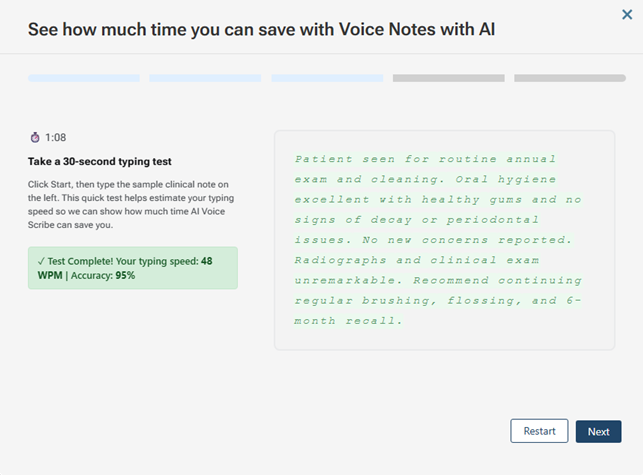
8. Begin typing the text that appears in the box on the right. As you type, the characters are highlighted green. If you make a mistake, the character that you typed incorrectly is highlighted red (to continue, you must type the character correctly).
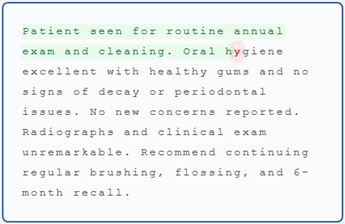
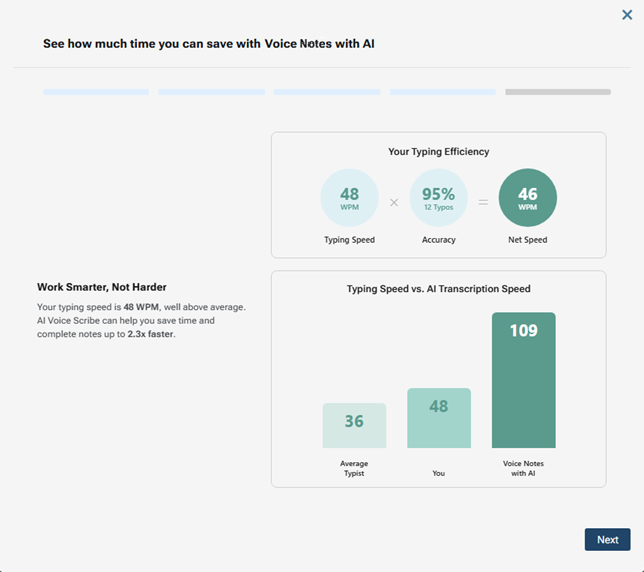
When you have typed the whole text, your typing speed appears on the left.
9. Click Next.
The next screen appears.
10. Click Next.
The next screen appears.
11. Click Next.
The next screen appears.
12. Click Done.
Using
With Voice Notes, you can dictate clinical notes using a microphone, view a summary of your clinical notes, and edit clinical notes. You can also change audio settings as needed.
To open the Voice Notes panel
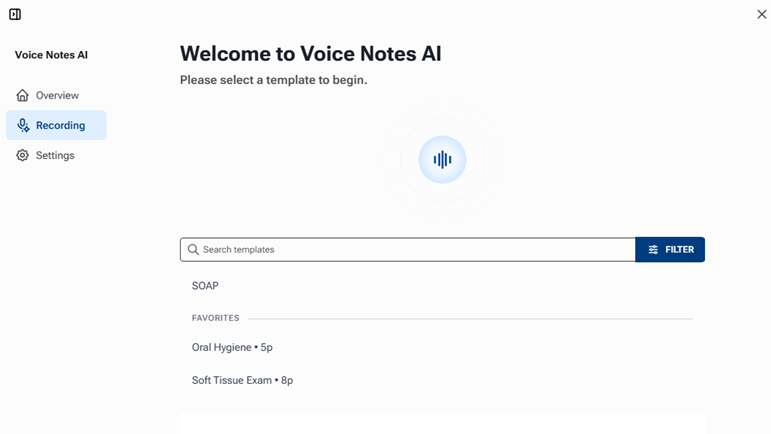
With the Chart, Progress Notes, Quick Exam, or Tx Planner tab of a patient’s clinical record selected, click the Voice Notes button.

The Voice Notes panel appears on the right.
Notes:
- To expand the panel horizontally to fill the window, click the Expand icon
 (in the upper-left corner of the panel).
- To reduce the panel horizontally to its minimum width in the window, click the Reduce icon
 (in the upper-left corner of the panel).
- While the panel is at its minimum width, to view the menu, click the Menu icon
 (in the upper-left corner of the panel).
- To close the panel, click the Close icon
 (in the upper-right corner of the panel).
To dictate a clinical note
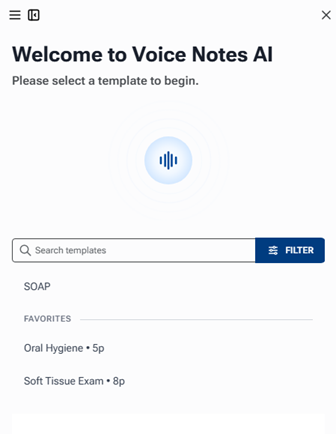
When you open the Voice Notes panel, the recording options appear by default.

Note: If you are viewing another area of the panel, select Recording on the panel’s menu to view the recording options.
Do one of the following:
- To use the default clinical note template, select SOAP.
- To use a clinical note template that has been marked as a favorite, under Favorites, select it. (The Favorites section is available only if at least one clinical note template has been marked as a favorite.)
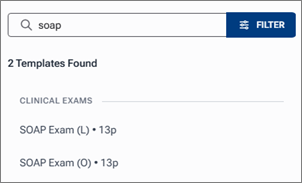
- To use a different clinical note template, search for and select it.
Notes:
- To search for a clinical template by name, begin typing any part of a name in the Search template… box. As you type, the matching templates appear, grouped by category.
- To filter the list of templates by category, click Filter, select one or more categories, and then click Apply.
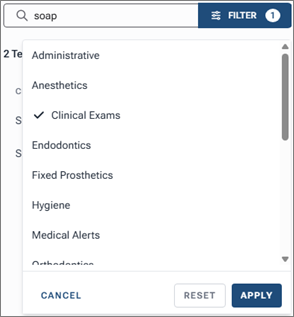
- To remove all category filters, click Filter to view the menu, click Reset, and then click Cancel.
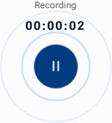
To start the recording, click the microphone icon.

A timer appears, indicating that the microphone is actively listening. You can pause the recording as needed by clicking the pause icon.
Note: With the standard version of Voice Notes, a recording is limited to five minutes. With the unlimited version of Voice Notes (Voice Notes Ambient), a recording does not have a time limit.
Dictate the note, using the checklist as a guide.
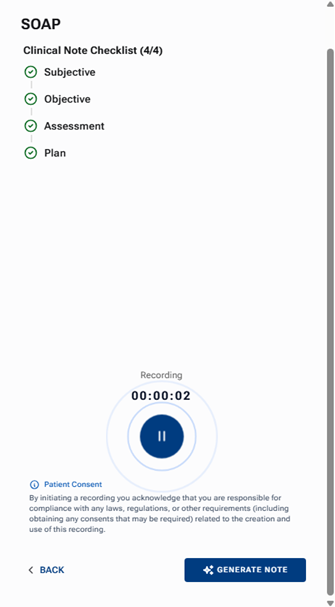
Note: Not all items in the checklist must have a green checkmark icon for you to be able to generate the note text.
When you are done dictating, pause the recording by clicking the pause icon (the icon changes to a play icon), and then click Generate Note.
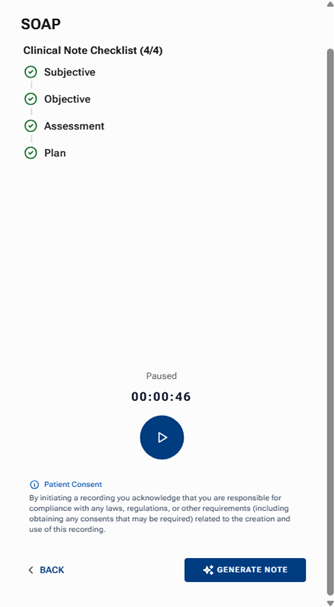
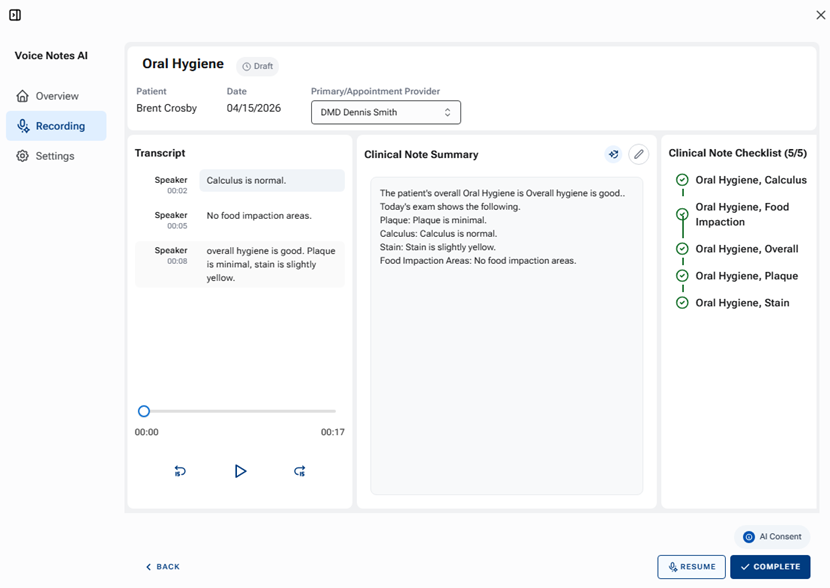
A preview of the note appears.
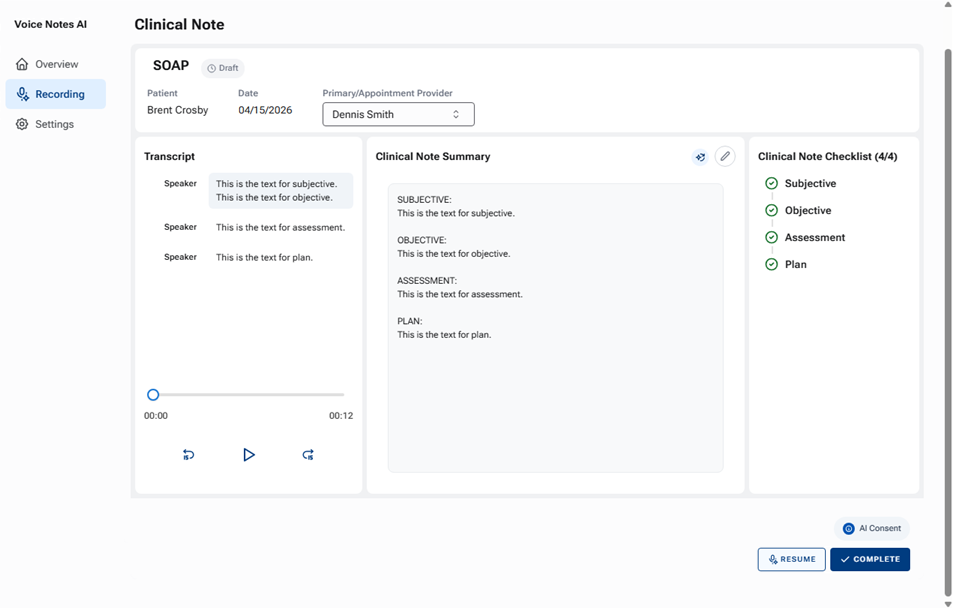
Do any of the following as needed:
- Change the Primary/Appointment Provider.
- To listen to the recording, click the Play button
 in the Transcript section.
- To change the text of the generated note, click the Edit (pencil) icon
 in the Clinical Note Summary section, make your edits, and then click the Edit (pencil) icon
  again.
- To re-dictate parts of the note and/or dictate new parts of the note, click Resume.
- To regenerate the note text, click the Regenerate summary icon
 .
.
If you have completed the note to your satisfaction, click Complete. The clinical note is saved to the patient’s record.
Note: If you do not click Complete, the note remains a draft and has an “Incomplete” status. You can finish the note later.
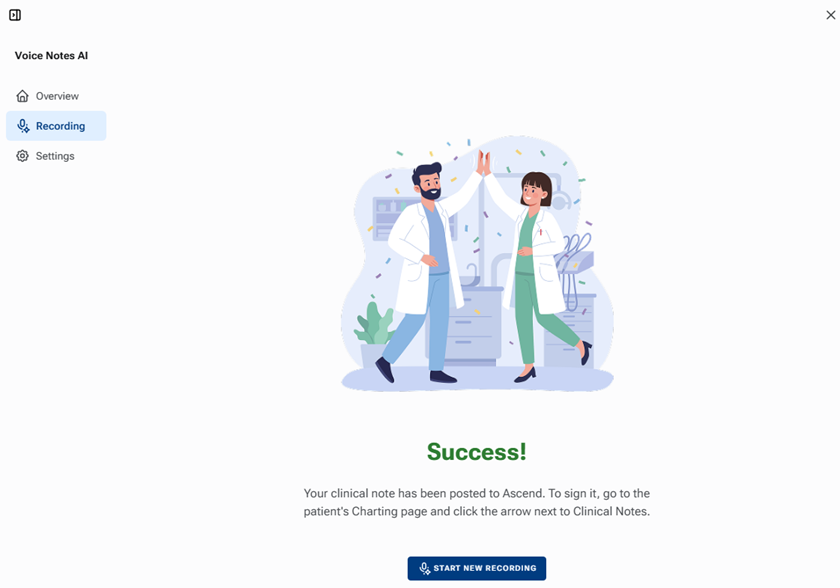
If you want to start another note for this patient, click Start New Recording.
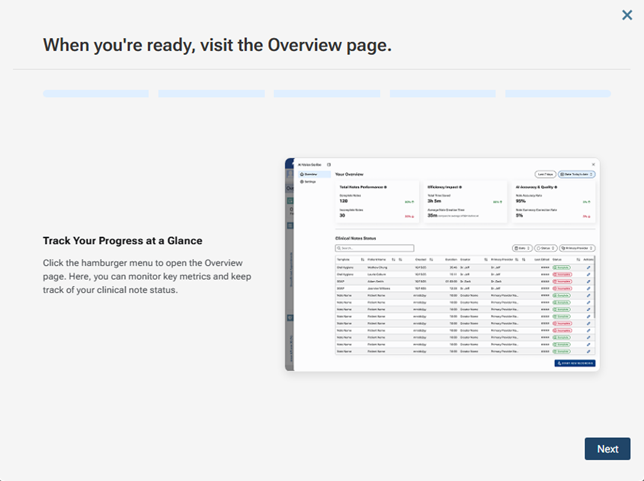
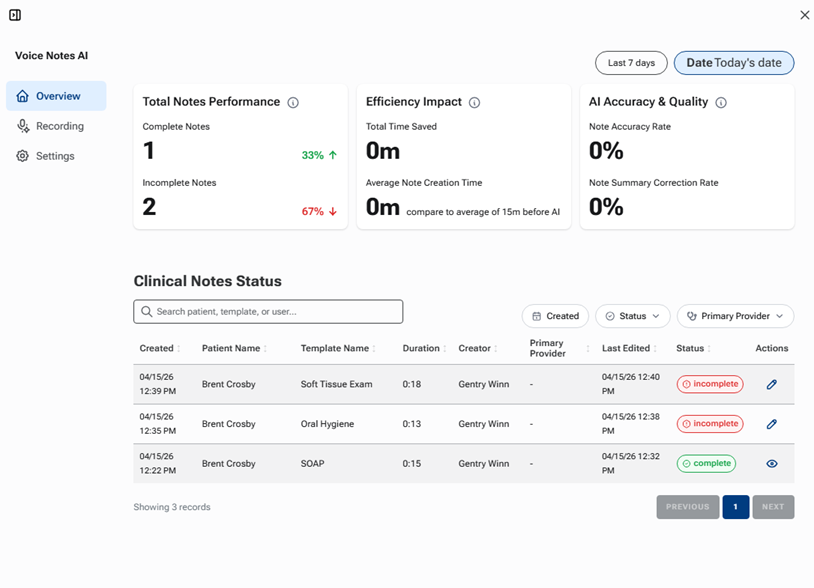
To access the overview
On the panel’s menu, select Overview.
Notes:
- The metrics appear at the top.
- The status of each note that was started using Voice Notes appears at the bottom. To filter the list, you can use the Search… box to enter part of a template name, the Created button to select a date, the Status list to select a status, and/or the Primary Provider list to select a provider.
To view a complete note (a note with complete in the Status column), click the eye icon
![]() in the Actions column.
in the Actions column.
To view an incomplete note (a note with incomplete in the Status column), click the pencil icon
![]() in the Actions column, and then do any of the following as needed:
in the Actions column, and then do any of the following as needed:
- Change the Primary/Appointment Provider.
- To listen to the recording, click the Play button
 in the Transcript section.
- To change the text of the generated note, click the Edit (pencil) icon
 in the Clinical Note Summary section, make your edits, and then click the Edit (pencil) icon
  again.
- To re-dictate parts of the note and/or dictate new parts of the note, click Resume.
- To regenerate the note text, click the Regenerate summary icon
 .
.
- If you have completed the note to your satisfaction, click Complete.
To change audio settings
On the panel’s menu, select Settings.
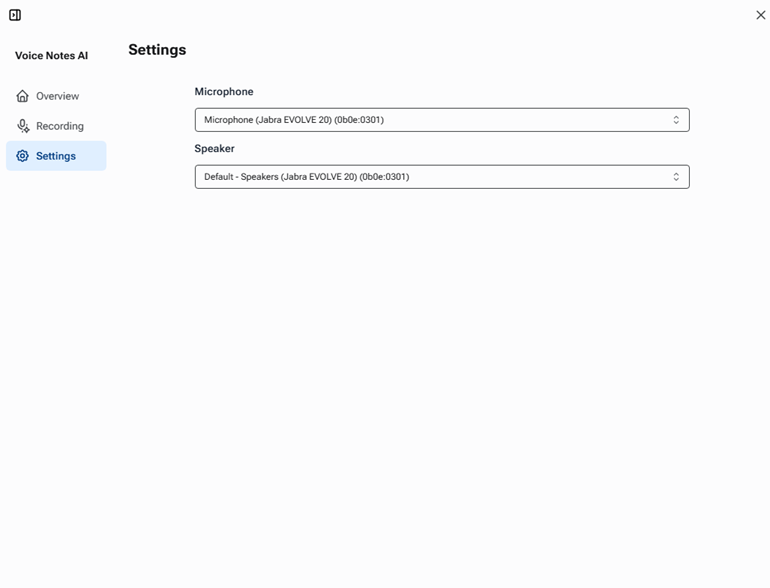
Select a different device for Microphone and/or Speaker.
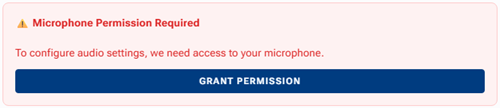
Note: If the website does not have access to your microphone, a red error message appears. To allow the website to use the microphone, click Grant Permission.