
Released 7/22/26
You can now add an ASAP filter to a campaign so you can now send messages only to patients with upcoming appointments who want to be seen sooner.
Notes:
- For information about campaigns, see the release notes for “Patient Communication Campaigns.”
- Campaigns are available only with a Dentrix Ascend Pro or Accelerate subscription. It is not available with an Essentials subscription.
To create an SMS campaign using the ASAP filter
1. On the Settings menu, under Patient Care, select Patient Communications.
The Patient Communications page opens.
2. Select the Campaigns tab.
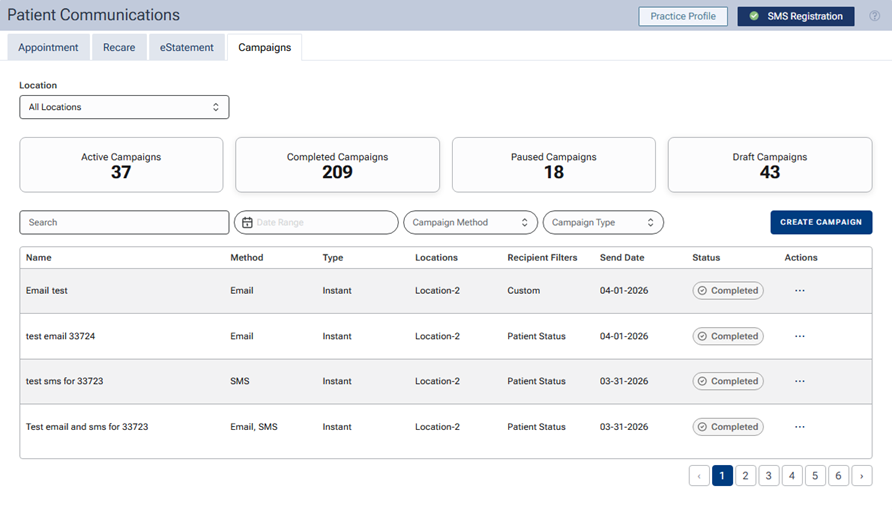
3. Click Create Campaign.
The Start Your Campaign options appear.
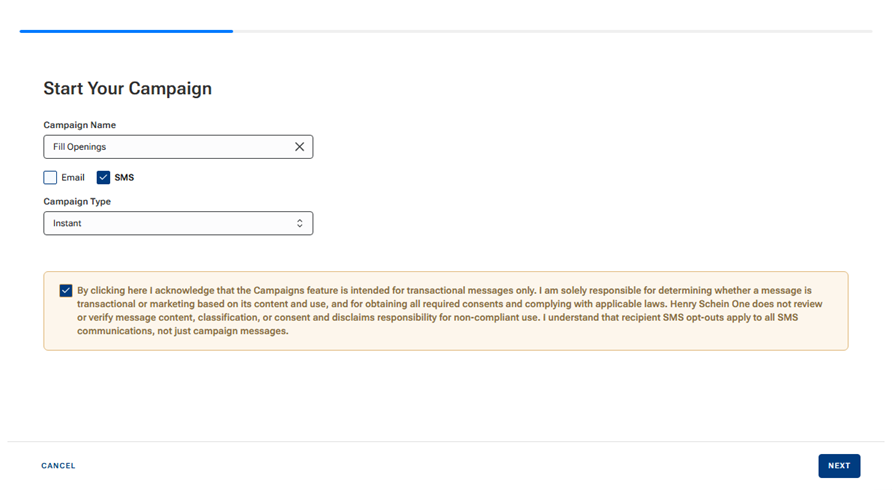
4. Set up the following options:
- Campaign Name – Enter a name to identify the campaign in the list.
- SMS – To have the message be delivered by text, select this checkbox.
- Campaign Type – Select Instant to have messages delivered immediately after you complete the creation of the campaign.
- By clicking here I acknowledge… – Select this checkbox to acknowledge the disclaimer.
5. Click Next.
The Compose SMS Campaign options appear.
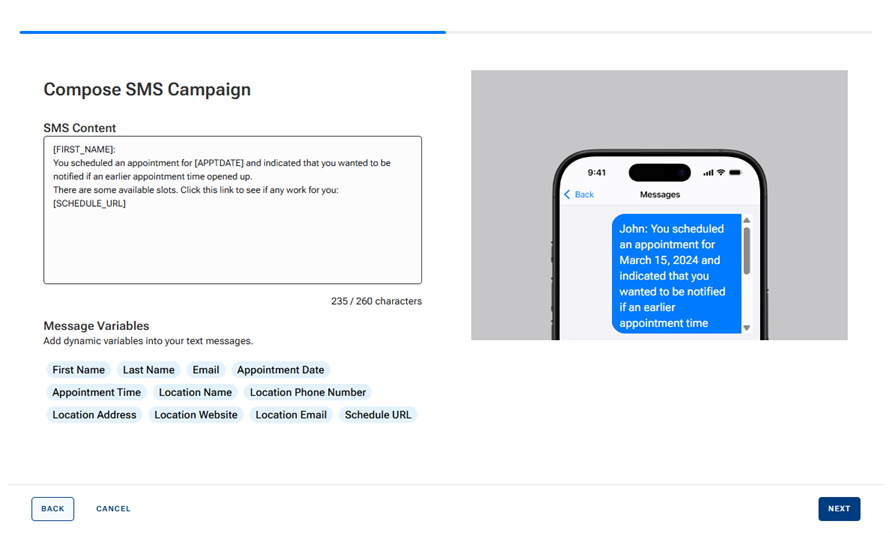
6. Type the content of the text message, inserting variables as needed.
A preview of the resulting text message appears on the right.
7. Click Next.
The Select Locations and Recipients options appear.
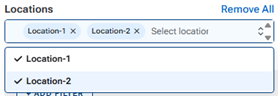
8. To select the locations that the campaign pertains to, expand the Locations menu, and then select each applicable location.
9. To add a filter to send messages only to patients with appointments on the ASAP list, click Add Filter, and then select ASAP List.
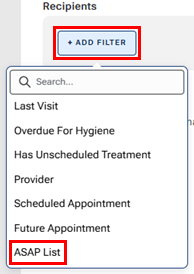
10. In the ASAP List Filter dialog box that appears, select the Patient is on ASAP List checkbox, and then click Save.
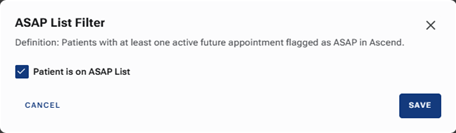
11. Add other filters as needed.
12. Click Apply.
The number of recipients who match the specified criteria appears for your reference.
13. Click Next.
The Review Campaign Summary appears.
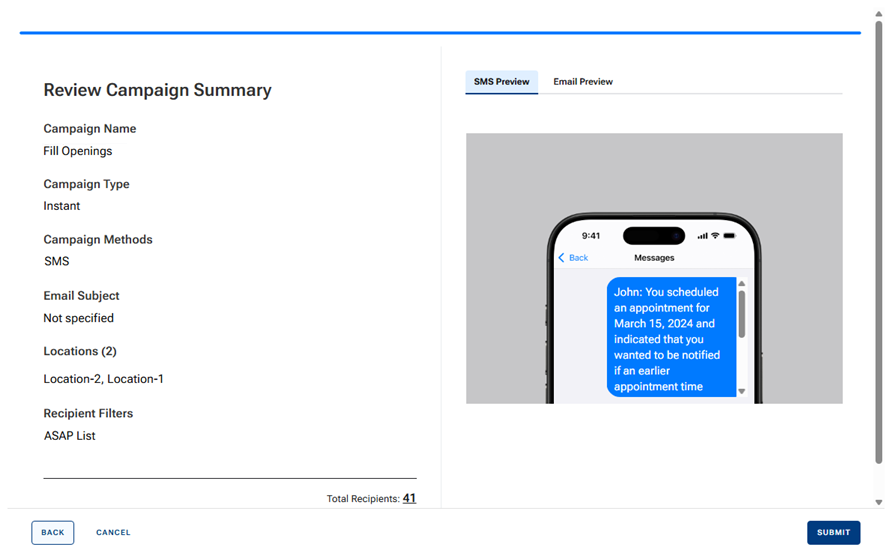
14. Review the details of the campaign: name, type, delivery methods, email subject (if applicable), locations, and recipient filters (if applicable).
15. If you want to see the list of recipients, click the number link next to Total Recipients.
The Recipients dialog box appears.
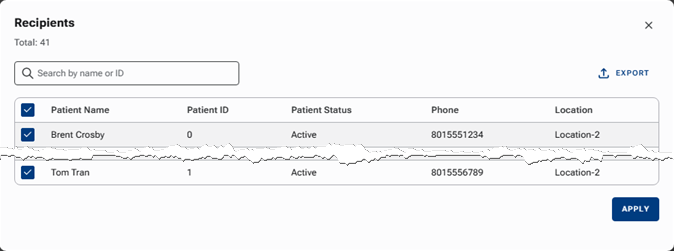
16. If you want to exclude any patients from receiving messages, clear the checkbox next to each of those patients, and then click Apply.
17. Click Submit.
The campaign is sent as soon as possible.