An insurance payment table is a list of procedures and what a payer pays for each of those procedures. For the first phase of the payment tables feature, you can add, edit, and remove procedures, and insurance estimates are not affected; that will be implemented in the next phase. When this feature is fully implemented, if a procedure is listed in the payment table, the fee for that procedure will override the coverage percentage in the coverage table for the same procedure.
Note: There are certain situations when you would not want to allow the payment table to be used for a procedure: the patient’s deductible has not been met or the patient’s maximum benefits have been met.
To set up an insurance plan’s payment table, do the following:
1. On the Home menu, select Carriers.
2. Click a carrier to view the associated insurance plans.
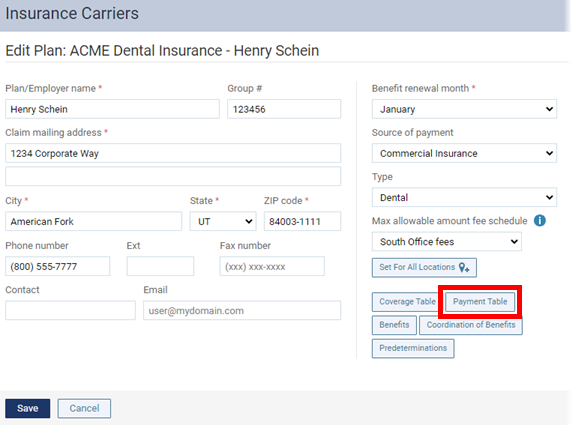
3. Click an insurance plan to view the plan’s options.
4. Click Payment Table.
The Payment Table dialog box appears.
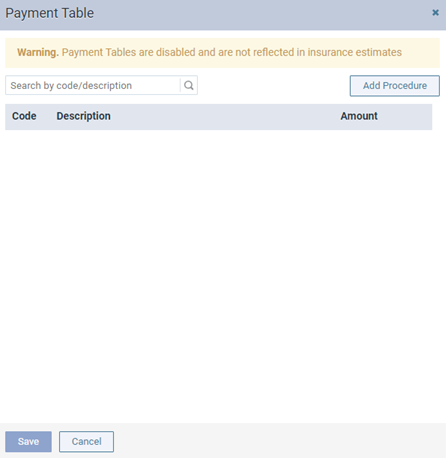
Note: Initially, the payment table is empty.
5. To add procedures, do the following:
a. Click Add Procedure to add a line item at the top of the list.

b. In the Search box begin typing part of a procedure code or description, and then select the correct procedure.
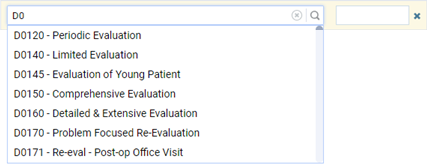
The Amount box is selected automatically.

c. Enter the amount that the payer pays for the selected procedure.

d. Repeat steps a-c as needed to add other procedures.
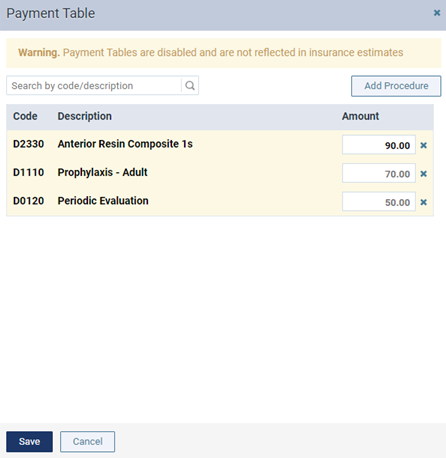
6. Click Save.
Note: As you add procedures, they are inserted before any existing procedures in the list. However, when you save the changes and then reopen the dialog box, the procedures are sorted by code.
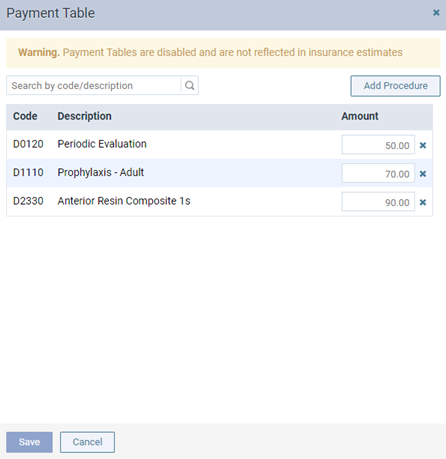
Over time, the list will become long, but you can filter to list to show only procedures that match search criteria that you enter in the Search by code/description box located above the list.

You can remove an existing or newly-added procedure from the list by clicking the corresponding X.

Also, you can change a procedure’s Amount as needed.

