Released 11/5/25
Important Note: Some of the new features and enhancements require an updated acquisition agent. For instructions on checking for updates, refer to the “Updating the acquisition agent” Help topic.
Videa AI Panel
If your location uses Dentrix Ascend Detect AI, an AI panel now appears automatically when you view an intraoral X-ray image. The panel displays a summary of the AI analysis performed on the displayed teeth (using all images, with those same teeth in common, that were acquired during that visit—in the same series).

Note: You can hide or show the AI panel as needed by clicking the bar on the left edge of the panel.

To view patient education topics
Click Patient Education.
In the Patient Education dialog box, you can provide visual aids that may help the patient understand his or her treatment needs. Select Adult or Pediatric, depending on the patient’s age and dentition, and then select a treatment.

Visual aids for the following adult treatments are available:
- Filling
- Root Canal
- SRP
- Crown
- Tooth Enamel Repair
- Implant
Visual aids for the following pediatric treatments are available:
- Fluoride (Preventative)
- Tooth Enamel Repair (Incipient Lesion)
- Stainless Steel/Zirconia Crown
- Space Maintainer
- Sealant
To share the AI summary and patient education topics with the patient via scanning a QR code
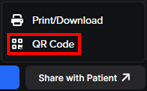
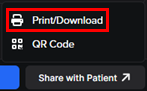
1. Click Share with Patient, and then select QR Code.
The Patient Education Summary dialog box appears.
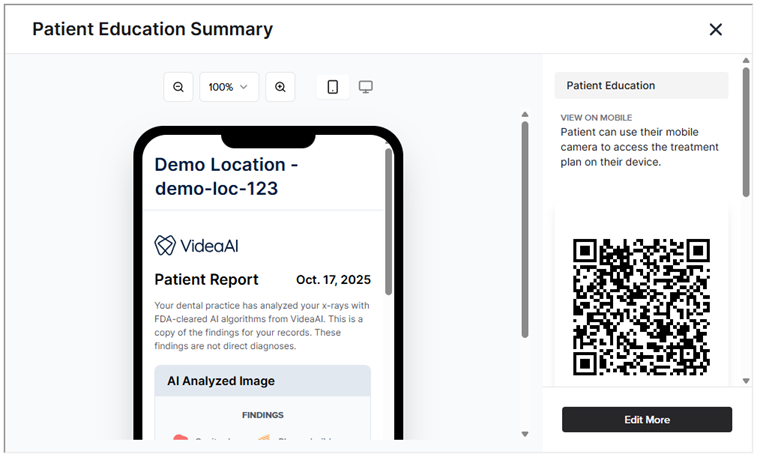
2. Click Edit More to customize the report and generate a new QR code.
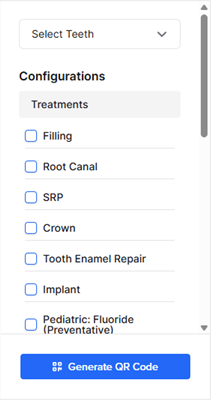
a. Set up the following options:
- From the Select Teeth list, select the checkbox of each tooth to include.
- Under Configurations, set up the following options:
- Treatments – Select the checkbox of each patient education topic to include.
- Note – Enter notes to include.
- AI Findings to Include – Select the checkbox of each type of finding to include.
- Treatments – Select the checkbox of each patient education topic to include.
b. Click Generate QR Code.
3. Have the patient scan the QR code.
To share the AI summary and patient education topics with the patient via downloading
1. Click Share with Patient, and then select Print/Download.

The Patient Education Summary dialog box appears.
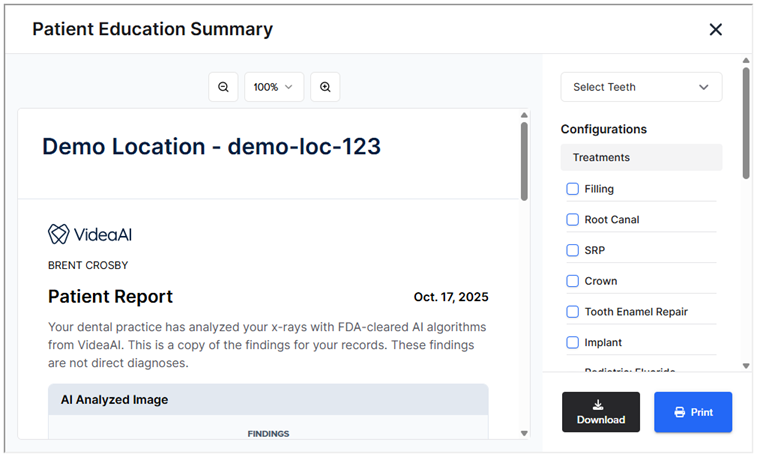
2. Customize the report:
- From the Select Teeth list, select the checkbox of each tooth to include.
- Under Configurations, set up the following options:
- Treatments – Select the checkbox of each patient education topic to include.
- Note – Enter notes to include.
- AI Findings to Include – Select the checkbox of each type of finding to include.
- Treatments – Select the checkbox of each patient education topic to include.
3. Click Download. The report is saved as a .jpg file.
4. Send the report to the patient.
To share the AI summary and patient education topics with the patient via printing
1. Click Share with Patient, and then select Print/Download.
The Patient Education Summary dialog box appears.

2. Customize the report:
- From the Select Teeth list, select the checkbox of each tooth to include.
- Under Configurations, set up the following options:
- Treatments – Select the checkbox of each patient education topic to include.
- Note – Enter notes to include.
- AI Findings to Include – Select the checkbox of each type of finding to include.
- Treatments – Select the checkbox of each patient education topic to include.
3. Click Print.
4. Use the browser’s Print dialog box to print the report.
5. Give the printout to the patient.
Simple Mode Acquisitions
In the Modality View, there is now a “Simple Mode” for acquiring intraoral X-ray images. This mode provides a streamlined acquisition workflow that includes simplified navigation, an interactive tooth chart, and device-based procedure buttons.
Note: When you use Simple Mode to acquire images, procedures are not posted to the patient’s ledger.
To acquire in Simple Mode
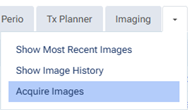
1. On the Imaging tab’s menu, select Acquire Images.
2. On the acquisition page, select any intraoral X-ray procedure (such as “4 Bitewings”) regardless of which procedure you want to end up using. You will notice that there is now an Advanced Mode switch.
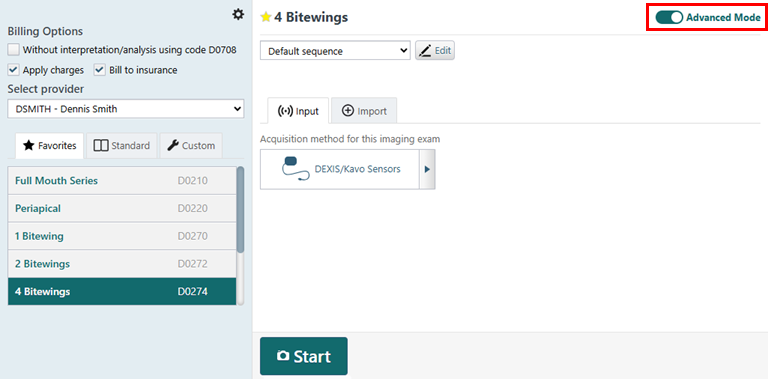
3. Turn the Advanced Mode switch off to enter Simple Mode.

4. Make sure that the correct device is selected.
Note: You cannot use phosphor plates in Simple Mode. Directly integrated devices, TWAIN devices, importing from file, and simulations are supported.
5. Optionally, on the odontogram, do one of the following:
- To start a single bitewing acquisition, select a BW checkbox.
- To start a one-tooth acquisition, select an individual tooth.
The acquisition device becomes ready (green). Skip to step 7.
6. Click one of the procedure buttons.
Notes:
- There are four procedure buttons by default (“Vert. BWs,” “Bitewings,” “Full Mouth,” and “One Tooth Series”).
- You can customize any of the first three procedures (“Vert. BWs,” “Bitewings,” and “Full Mouth”). You can rename the procedure and/or customize the tooth numbers for each image in the series as needed. You cannot customize the “One Tooth Series” procedure.
- You can define an additional procedure.
- For information about editing or creating a procedure, see “Customizing X-ray Series” below.
- If you skipped step 5, and then click One Tooth Series, select a tooth on the odontogram, and then proceed to step 7.
The applicable teeth are selected on the odontogram, and the acquisition device becomes ready (green).
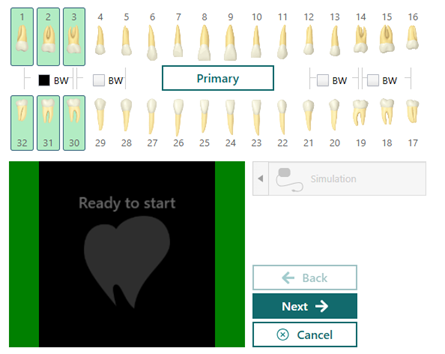
Note: For a series, you can click Back and Next to skip between the steps in the acquisition sequence as needed.
7. Acquire the individual image or each image of the series.
Customizing X-ray Series
In the Modality View, you can customize the procedures for Simple Mode acquisitions of intraoral X-ray series.
To customize X-ray series
1. For the Intraoral X-ray modality, click the three dots to open the More Options menu.

2. Under X-ray Series, customize any of the series (which are “Vert. BWs,” “Bitewings,” “Full Mouth,” and “Custom” by default) as needed:
- Name – The name to identify the series.
- Teeth – The tooth numbers for each image in the series. For each tooth range, enter the first and last tooth number separated by a dash. Each range must be separated by a space. Each range corresponds to a step in the acquisition sequence.
Notes:
- For a tooth range that includes teeth in both arches, type the upper-left-most tooth number, a dash (-), and then the lower-right-most tooth number. For example, type 1-30 for teeth 1, 2, 3, 32, 31, and 30.
- For any of the first three series, if you do not specify any teeth, the default name and teeth will be used for acquisitions.
- For the fourth series, if you do not specify any teeth, the series will not be available for acquisitions.
- You can put all four series in any order.
- To reset all settings on this menu, including the names and teeth for the series, to the system defaults, click the Reset to default link (in the upper-right corner of the menu).
3. Click Confirm.
Reassigning Images in Modality View
In the Modality View, when you view an individual image, there is now a Reassign button that allows you to move the corresponding exam to another patient’s record.

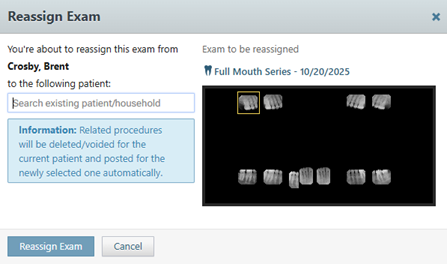
Note: The functionality in the Reassign Exam dialog box is the same functionality that already exists when you are reassigning an exam in the Exam View.
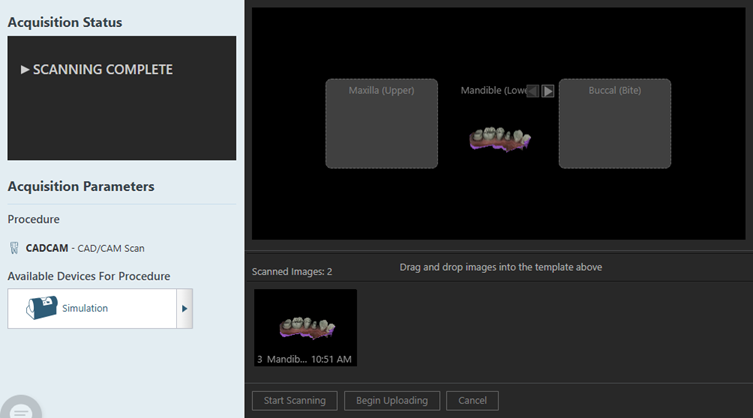
Automatic Mounting of CAD/CAM Scans
When you complete a CAD/CAM scan, if an image has metadata that indicates its orientation (upper, lower, or bite), the image is automatically mounted in the correct slot of the template.
Note: If necessary, you can move the image to a different slot.
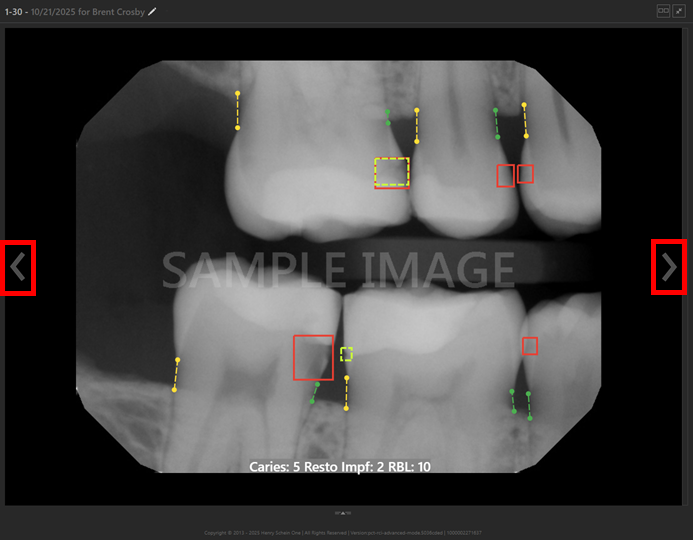
Navigation Buttons for Full-screen Viewing
When you are viewing an image in a series in full-screen mode, there are now Previous (<) and Next (>) buttons to navigate between the images in the series.
Stack Navigation for CAD/CAM Scans
When you acquire a CAD/CAM scan, and put multiple images in the same box of the template, there are now buttons on that box that allow you to navigate between the images in that stack.

Highlight Box Around Image in Chairside Dashboard View
When you are viewing the chairside dashboard, a selected image on the imaging panel (on the right) now has a yellow box around it to highlight it.

3Shape Software Bridge
For a CAD/CAM Scan procedure, support for the 3Shape software bridge is now available.

To configure settings for 3Shape
1. Click the Acquisition Agent icon in the notification area of the Windows task bar, and then select Preferences.
The Preferences dialog box appears.

2. On the General tab, click 3Shape Settings.
The 3Shape Settings dialog box appears.

3. Click Login.
The Authorization dialog box appears.
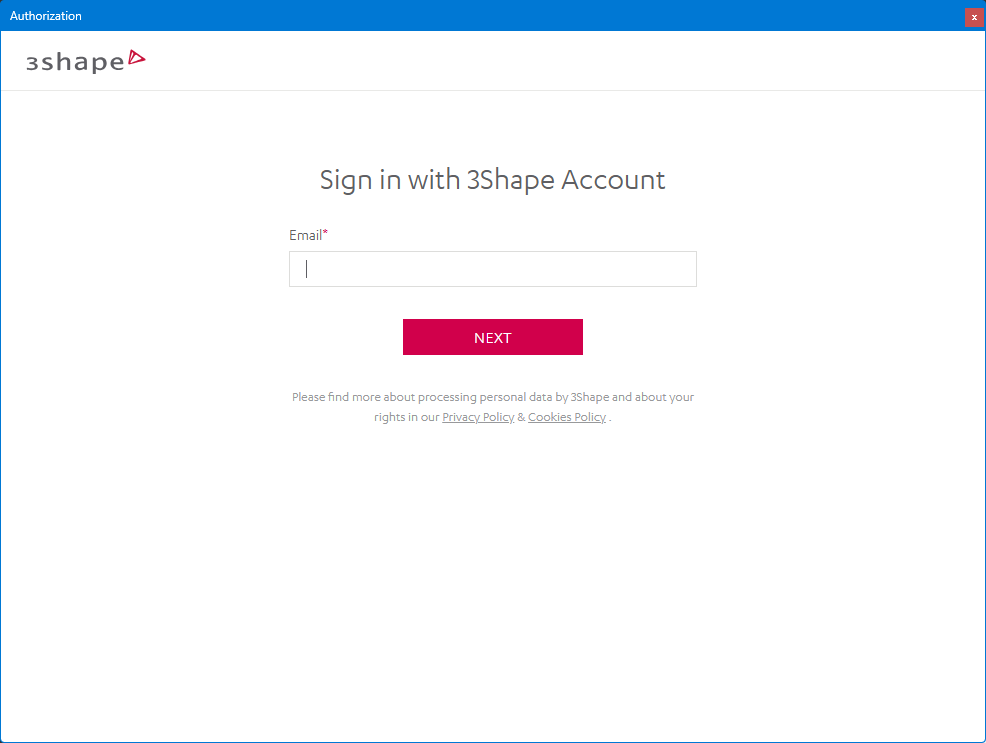
4. Enter the email address that is associated with your 3Shape account, and then click Next.
5. Enter the password that is associated with your 3Shape account, and then click Sign In.
You are returned to the 3Shape Settings dialog box.
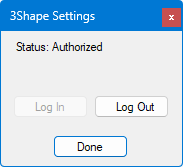
6. Click Done.
You are returned to the Preferences dialog box.
7. Click Done.
Miscellaneous
- For a Cephalometric or Panoramic procedure, direct integration with an Owandy pan/ceph machine to acquire a 2D image is now available (for Windows OS only).

- The maximum zoom level for an image has been increased from 500% to 1000%.
- During the acquisition of a CAD/CAM scan, the template boxes are now always centered in the viewing area.
Fixes
This release resolves the following issues:
- Resuming an old CAD/CAM exam throws an error. (AI-4668)
- Sometimes tooth numbers and the date overlap on exported images. (AI-4692)
- Sharing an exam with an empty slot selected throws an Uncaught Type error. (AI-4693)
- DS Core and other Web APIs throw an Uncaught Aggregate error. (AI-4708)
- With a phosphor plate acquisition, cancelling the exam with images in template slots sends those images to the recovery folder. (AI-4723)
- Multiple “AgentBehavior Opened” calls occur when the acquire page is opened. (AI-4774)
- Planmeca Promax does not automatically calibrate. (AI-4817)
- For the “1 Bitewing” procedure, more than one BW checkbox can be selected. (AI-4830)
- In the Modality view, if there are no images, the more options button (three dots) is not available when the Exam view is loaded. (AI-4848)
- If the provider is hidden, resuming/retaking fails. (AI-4865)