Important Note: Some of the new features and enhancements may require an updated acquisition agent. For instructions on checking for updates, refer to the “Updating the acquisition agent” Help topic.
Supported Acquisition Devices
- Vatech HD – Direct integration is now supported for acquiring intraoral X-ray sensors. Windows only.
- Acteon AIS – New software bridge for acquiring 3D volumes (using CBCT devices). Windows only.
- KaVo Devices – Direct integration is now supported for acquiring cephalometric images. Windows only.
Bitewing Two Images Procedure Changes
The Bitewing Two Images procedure now consists of three separate templates. Like with a full mouth procedure (for which you select FMX18 or FMX21), you select one of three options to acquire center, left, or right bitewing images.
Previously, for a 2-bitewing series, from the Acquisition sequence list, you would select Pediatric, Left bitewings, or Right bitewings.

Now, a 2-bitewing series has three new acquisition options: 2BW Center, 2BW Left, and 2BW Right.
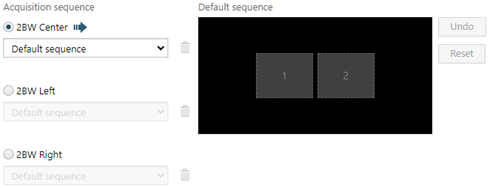
To acquire a 2-bitewing series
1. When you start acquiring, select the Bitewing Two Images imaging procedure.
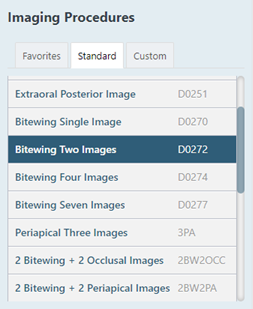
2. Under Acquisition sequence, select the 2BW Center, 2BW Left, or 2BW Right option. Then, from the corresponding sequence list, select Default sequence or a custom sequence (if available).
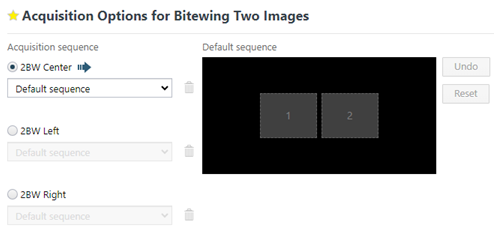
Tooth numbers (using default sequence):
- Center – (1) 3, 4, 5, 28, 29, 30; and (2) 12, 13, 14, 19, 20, 21.
- Left – (1) 12, 13, 14, 19, 20, 21; and (2) 14, 15, 16, 17, 18, 19.
- Right – (1) 1, 2, 3, 30, 31, 32; and (2) 3, 4, 5, 28, 29, 30.
Note: As in previous versions, if you change the acquisition sequence, when you finish specifying the order for all placeholders, to save the custom sequence for future use, enter a name for the sequence in the Acquisition sequence box, and then click (or tap) Save as ([sequence name]).

3. Set up other options as needed, and then proceed to acquire the images.
Delete Rejected Image Default
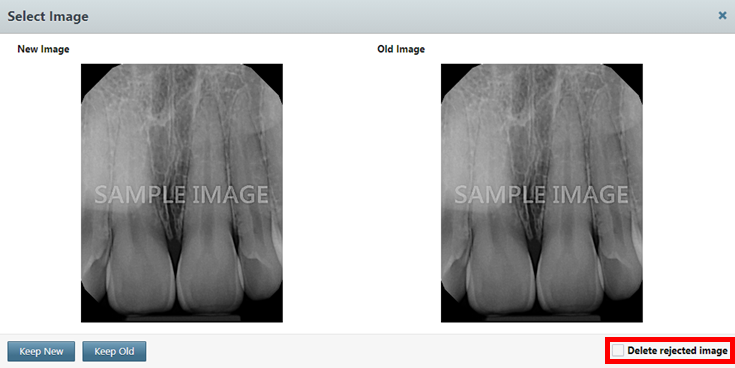
Now, after you recapture an image, in the Select Image dialog box that appears, the Delete rejected image checkbox is not selected by default.
Additional Image Details
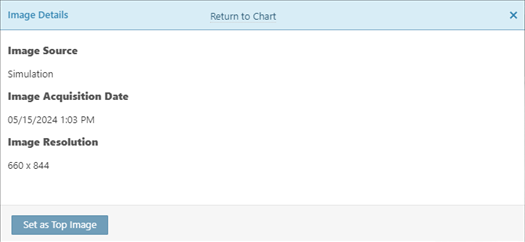
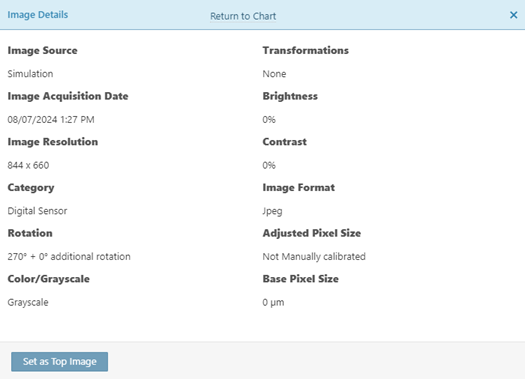
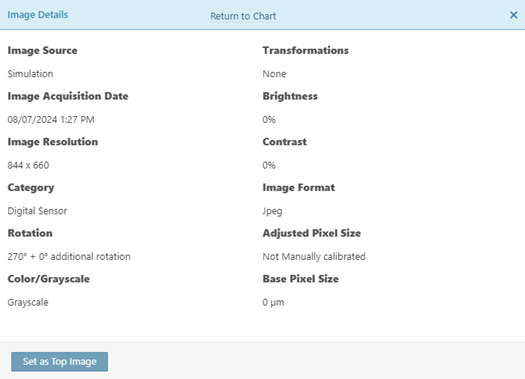
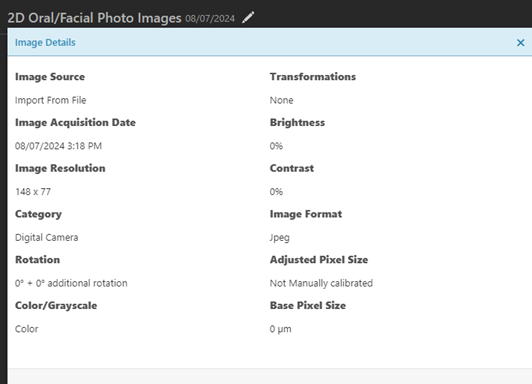
When you view an image’s details, the Image Resolution (width and height) are now based on the image’s orientation. Also, the following additional details appear: Category, Rotation, Color/Grayscale, Transformations, Brightness, Contrast, Image Format, Adjusted Pixel Size, and Base Pixel Size.
Before
Now
To view image details (for images with tooth numbers)
1. While viewing an image, click the Edit button
![]() .
.
The Assign Tooth Numbers dialog box appears.
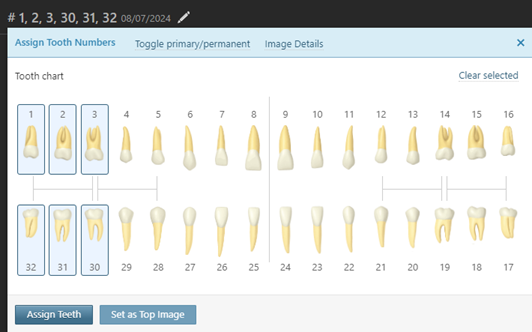
2. Click the Image Details link.
The dialog box displays the Image Details.
To view image details (for images without tooth numbers)
1. While viewing an image, click the Edit button
![]() .
.
The Image Details dialog box appears.
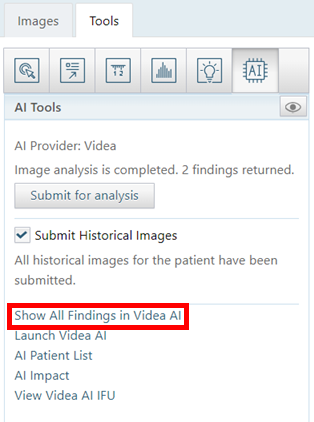
Detect AI – Show All Findings in Videa AI
A new Show All Findings in Videa AI link is now available for the AI tools. You can click the link to open Videa AI and display the image with its findings.
Detect AI – Share Only Visible Findings
When you share an image with AI findings, now the printed or exported image includes only the visible findings instead of all findings.
Detect AI – Pop-up Menu Behavior Changes
- Now, the AI pop-up menu closes immediately after you select an option.
- Now, the AI pop-up menu closes when you click outside of the menu. Previously, clicking outside of the menu would cause it to re-display.
VixWin Software Bridge
The VixWin software bridge now supports multiple-file volume imports. All DICOM volumes in study DICOM folders are imported.
Also, you can now specify the path that the VixWin software bridge uses for volumes.
To verify the VixWin path in the acquisition agent preferences
1. Click the Acquisition Agent icon in the notification area of the Windows taskbar, and then select Preferences.
2. In the Preferences dialog box, select the Software Bridge tab. The new VixWin section is in the lower-left corner.
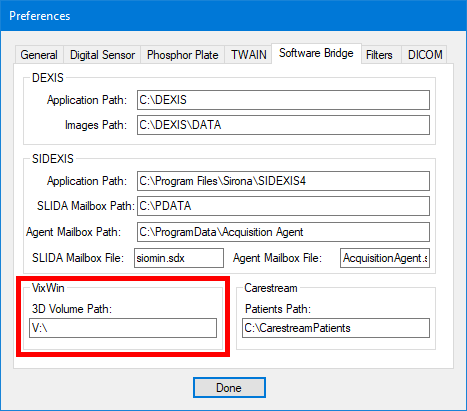
By default, V:\ is entered in the 3D Volume Path box, but you can change the location if necessary.
3. Click Done.
Miscellaneous Enhancements
- GPU performance was improved for rendering custom enhancements, resulting in smoother and faster application of the filter.
- The versioning scheme was changed to be consistent with the iteration number: 113.0.X.Y instead of 1.2.X.Y.
- For KaVo devices, if Dentrix Ascend Imaging detects that the version of the SDK is lower than the minimum allowed, it will no longer stop an acquisition; the acquisition will continue, and a warning will be logged.
- Native Scan Exam One integration was updated to acquire using the KaVo API direct integration method.
- The most recently used filter option for a Sirona / Schick USB 3 / AE device is now saved per device.
