
Released 9/2/26
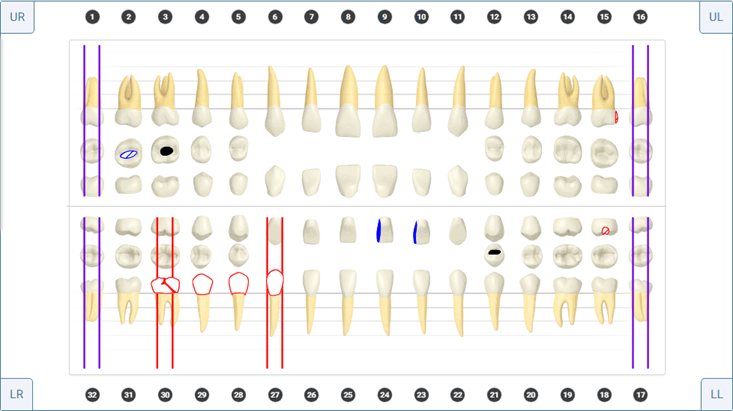
You can now draw freehand annotations on a patient’s graphical tooth chart (odontogram) so you can both educate patients and make notes that can’t otherwise be reflected in conditions, procedures, notes, or the current set of charting symbols.
Examples of what to use annotations for:
- Dental/orthodontic appliances
- Locations of supernumerary teeth
- Surface restorations for cusps and pits (rather than the entire occlusal surface)
- Permanent retainers
- Engagers for clear aligners
New security rights for annotations:
- “View chart annotations” (in the “Charting” category) – Allows the user to view annotations.
- “Edit chart annotations” (in the “Charting” category) – Allows the user to add or edit annotations.
Notes:
- The “View chart annotations” right is available only if the “Review clinical chart” is selected.
- The “Edit chart annotations” right is available only if the “Review clinical chart” and “View chart annotations” rights are selected.
- For new customers, the “View chart annotations” and “Edit chart annotations” rights are selected by default for the following user roles: Administrator and Provider.
- For existing customers:
- The “View chart annotations” right is selected by default for user roles that have been granted the “Review clinical chart” right.
- The “Edit chart annotations” right is selected by default for user roles that have been granted the “Review clinical chart,” “Create clinical note,” and “Edit clinical note” right.
- The “View chart annotations” right is selected by default for user roles that have been granted the “Review clinical chart” right.
To add annotations
1. Access the Chart tab of a patient’s clinical record. (The chairside dashboard can be on or off.)
2. Click the Edit annotations button (paintbrush icon).

The background of the Show/hide annotations button (eye icon) turns blue to indicate that annotations are being shown. The background of the Edit annotations button (paintbrush icon) turns blue to indicate that annotations can be added or edited.

A gray box appears around the teeth to indicate the drawing area.
The Tools palette appears.

3. Specify the drawing options:
- Select the paintbrush or highlighter. The paintbrush is selected by default.
- Select one of the available colors: red, orange, yellow, green, blue, purple, black, or gray. Black is selected by default.
- Select the brush or highlighter size (diameter): extra-large, large, medium, or small . Large is selected by default.
4. Draw on the odontogram as needed.
When you start drawing, Save and Cancel buttons appear at the bottom of the Tools palette.

Note: You can use different drawing options (such as the color and size) for each annotation.

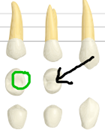
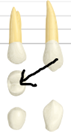
5. To erase an individual brush/highlighter stroke, on the Tools palette, select the eraser, and then click the part of the annotation to erase.

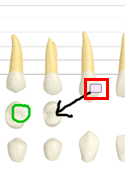
The stroke is removed.
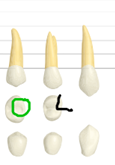
6. To save the annotations, click Save.
Note: To discard what you have done since the last save, click Cancel.
7. To turn off annotation edit mode, click the Edit annotations button (paintbrush icon).

The background of the Edit annotations button (paintbrush icon) turns gray to indicate that annotation edit mode is off. The background of the Show/hide annotations button (eye icon) remains blue to indicate that annotations are being shown.

8. If you want to hide annotations, click the Show/hide annotations button (eye icon).

The background of the Show/hide annotations button (eye icon) turns gray to indicate that annotations are being hidden.

Notes:
- The state of the Show/hide annotations button (eye icon) is saved on the current computer. However, if a user who has not been granted the “View chart annotations” security right accesses a patient’s chart on the current computer, the state of the button is always off (annotations are hidden).
- The state of the Edit annotations button (paintbrush icon) is not saved. When you switch to a different patient’s chart, the state of the button is off by default (view mode).
- The adding and editing of annotations are tracked in the audit log.