A new icon can now appear next to the email address of a user on the User Accounts page if that user’s email address has not been verified after someone creates the user’s account or updates the email address in the user’s account. If Dentrix Ascend gets a notification that a verification email message was undeliverable, the corresponding email address is blacklisted, and a Resend email icon appears next to the user’s email address on the User Accounts page.

To resend the verification email message, click the Resend email icon.
Note: Resending verification email messages requires the “Edit Users” security right (in the “Settings” category).
To update a user’s email address
1. Go to Settings > User Accounts to open the User Accounts page.
2. Click the correct user to open the User Account Information page.
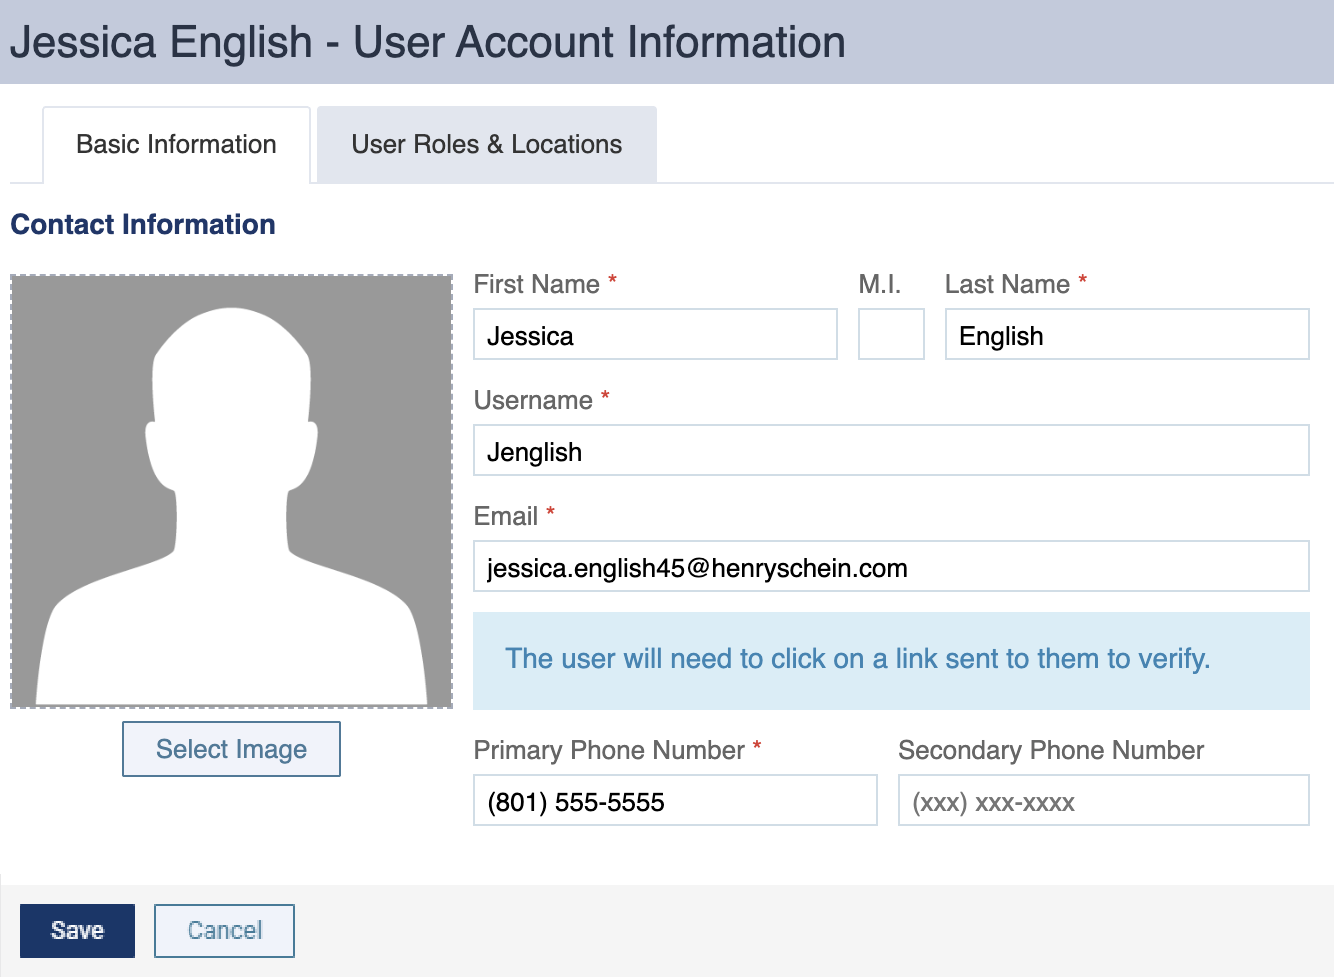
3. Change the Email address (in this example, the email address was originally [email protected] and has been changed to [email protected]).
Note: A blue information message appears, stating that the user will receive an email message with a link that he or she must click to verify the email address.
4. Click Save.
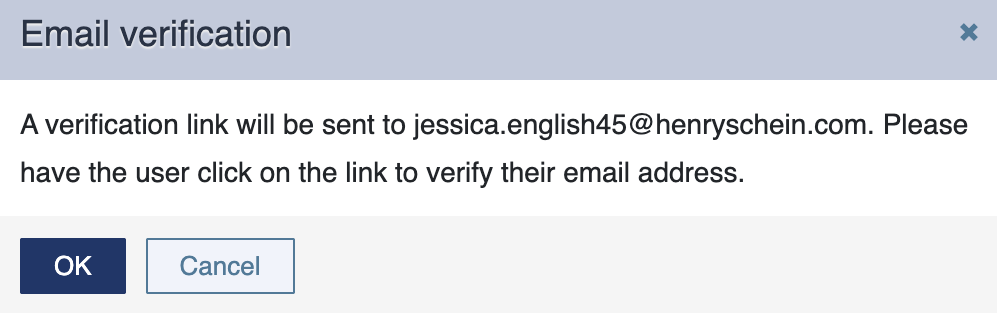
5. On the Email Verification message that appears, click OK.
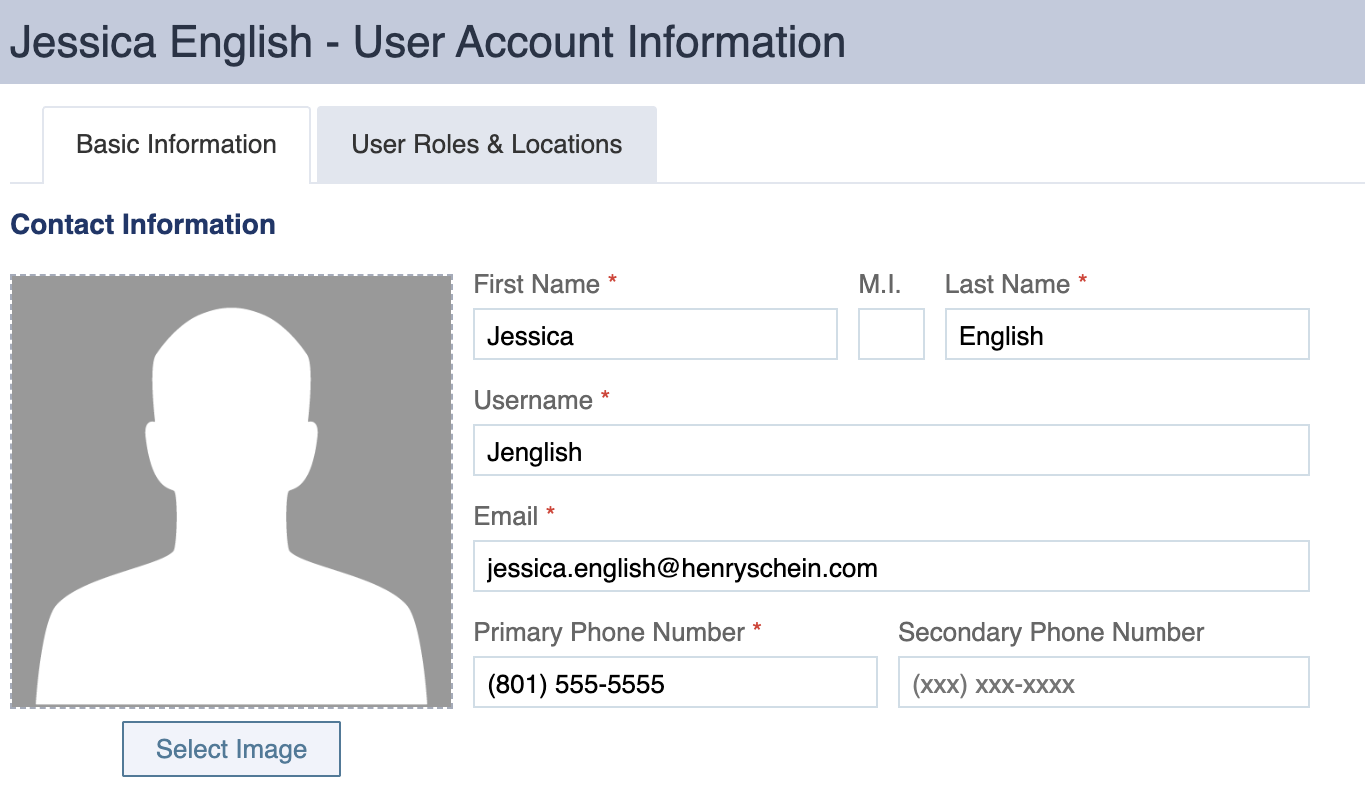
Note: New email address is NOT saved in the user’s account until he or she clicks the link in the verification email message that is sent to the new email address. On the User Accounts page, and on the user’s User Account Information page, the old email address appears; there is no way to see the new email address until it has been verified.
If Dentrix Ascend gets a notification that the verification email message (which was sent to the new address) was undeliverable, the new email address is added to the blacklist, and the Resend email icon appears next to the user’s email address on the User Accounts page. Notice that the old email address, not the new one, is displayed.
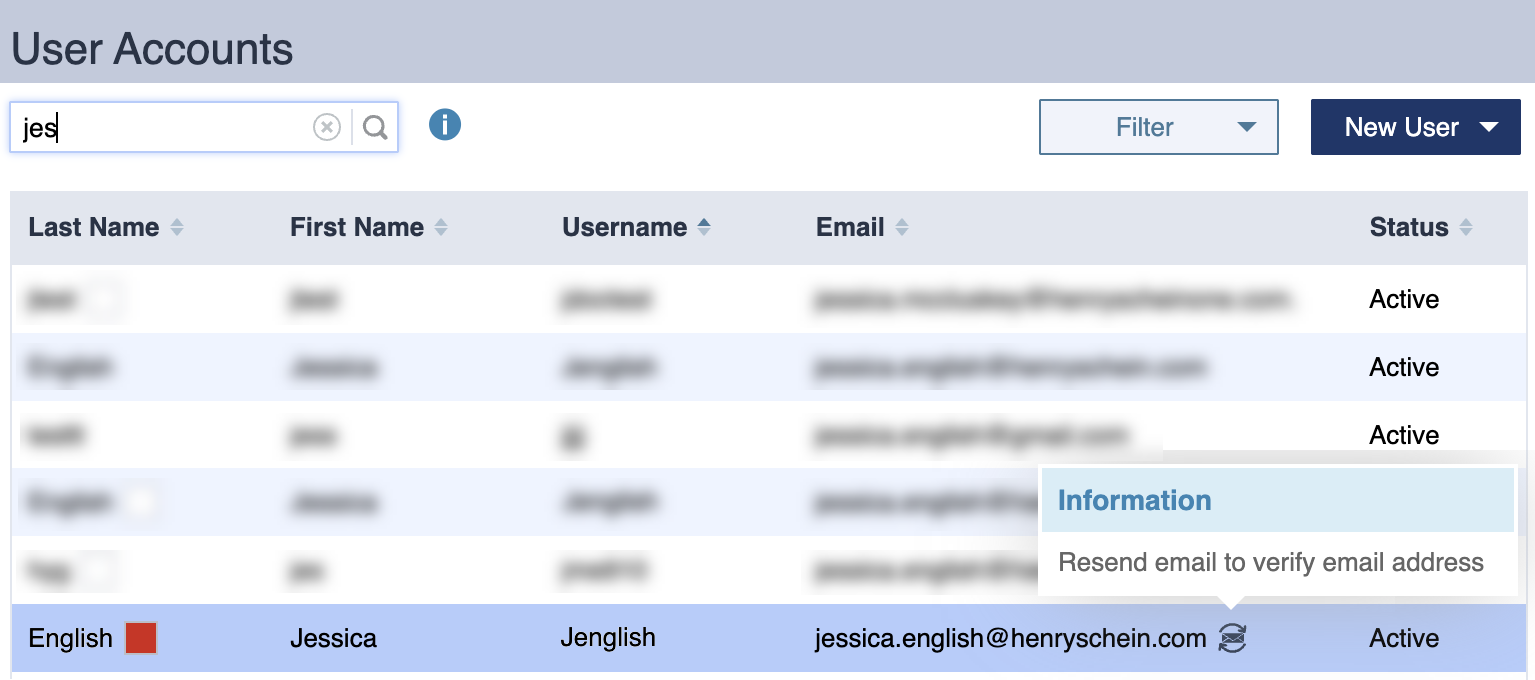
To resend the verification email message to the NEW email address, click the Resend email icon.