Prior to this update, operatories were displayed on your location’s Calendar page alphabetically by name, and the only way to control the display order of the operatories was to change their names. With this update, you can now customize the display order of the operatories regardless of their names.
To accommodate this change, the Operatories page, where you manage operatories for a location, has been enhanced.
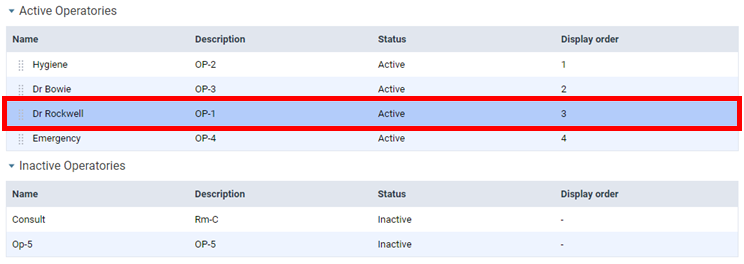
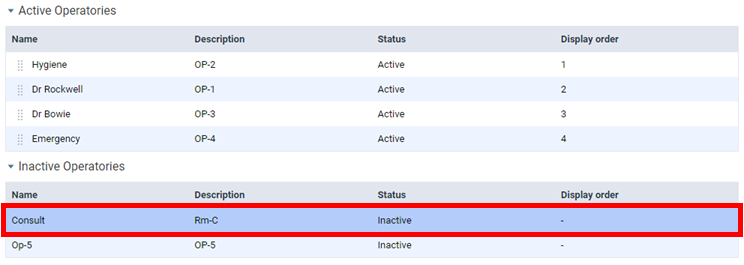
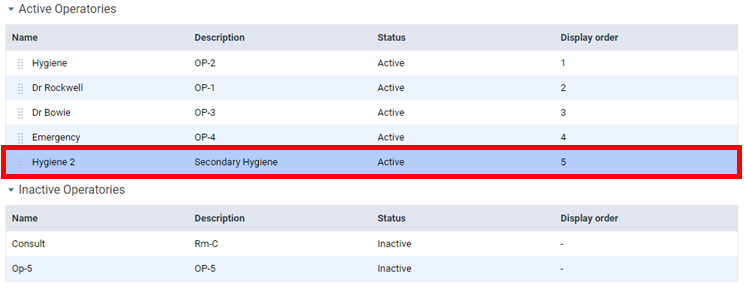
The page is now divided into two sections:
- Active Operatories
- Inactive Operatories
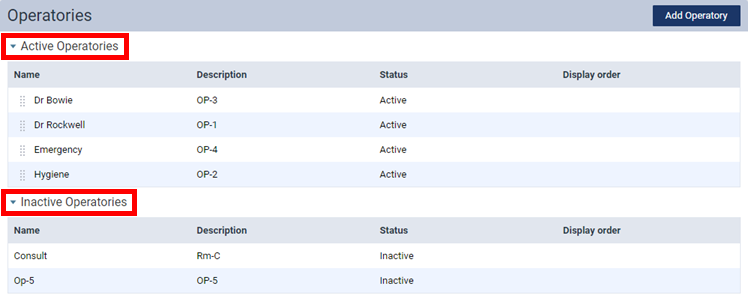
Note: You can collapse and expand these sections as needed.
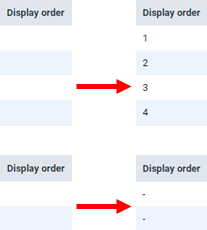
When you initially access this page, the Display order column is blank for all operatories. The displayed order of the Active Operatories will continue to be the displayed order on the Calendar page unless you change the order. Once you edit an operatory or change the order, the applicable numbers appear in the Display order column for the Active Operatories, and dashes appear in the Display order column for the Inactive Operatories.
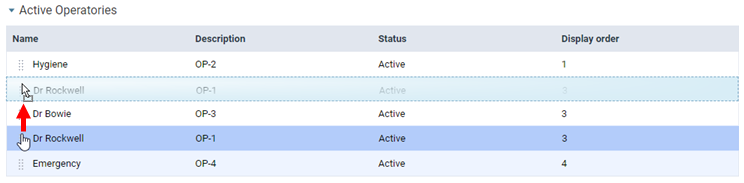
To quickly change the display order of operatories
1. Under Active Operatories, drag an operatory by the handle to the preferred position in the list.
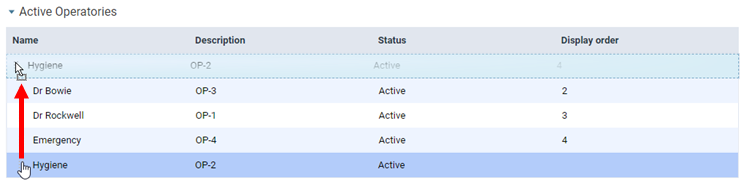
Note: The change is saved automatically, and the other operatories’ display orders update automatically as needed.
2. For every other operatory that you want to rearrange, drag it by the handle to the preferred position in the list.
To change the display order of an operatory by editing it
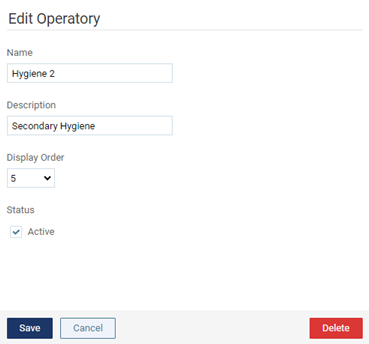
1. Under Active Operatories, click an operatory to open the Edit Operatory page.
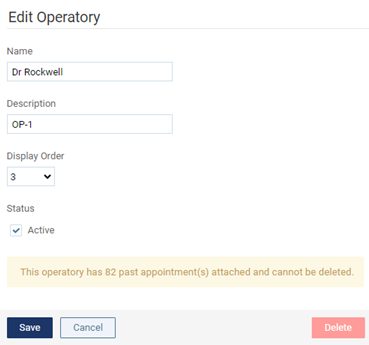
2. If you had to use a less-than-ideal name prior to this update as a workaround to getting the operatories to be displayed in a particular order, go ahead and change the Name as needed to suit your preference.
3. Select the preferred Display Order.
Note: The other operatories’ display orders will update automatically as needed.
4. Click Save.
To inactivate an operatory
1. Under Active Operatories, click an operatory to open the Edit Operatory page.
2. Clear the Active checkbox.

Note: The dash (–) is selected for Display Order automatically. The active operatories’ display orders will update automatically as needed.
3. Click Save.
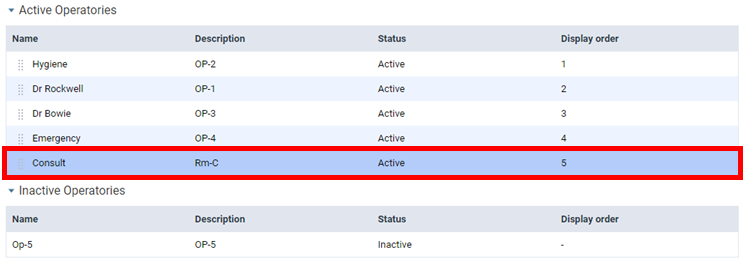
To reactivate an operatory
1. Under Inactive Operatories, click an operatory to open the Edit Operatory page.

2. Select the Active checkbox.

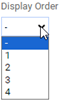
3. The dash (–) is selected for Display Order automatically. Do one of the following:
- To insert the operatory as the last one in the display order, leave – selected for Display Order.
- To insert the operatory somewhere in the existing order, select the preferred Display Order.
Note: The other active operatories’ display orders will update automatically as needed.
4. Click Save.
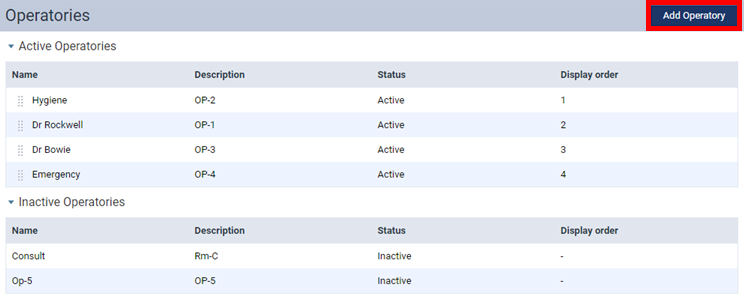
To add an operatory
1. Click Add Operatory to open the Create Operatory page.

2. Enter a Name and Description.
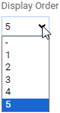
3. The number of the next available position is selected for Display Order automatically. Do one of the following:
- To insert the operatory as the last one in the display order, leave the number of the next available position selected for Display Order.
- To insert the operatory somewhere in the existing order, select the preferred Display Order.
Note: The other operatories’ display orders will update automatically as needed.
4. Click Save.
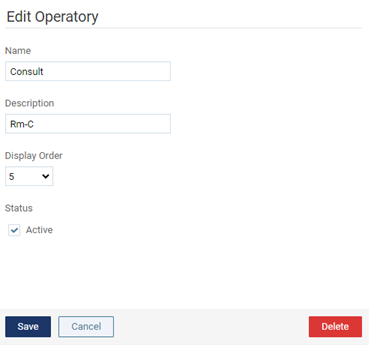
To delete an operatory
1. Under Active Operatories or Inactive Operatories, click an operatory to open the Edit Operatory page.
2. Click Delete.
Note: The Delete button is available only if the operatory does not have any appointments scheduled in it.
3. On the confirmation message that appears, click OK.