EARLY ACCESS ONLY
Previously, when you clicked the “E” icon on an appointment, a document would open on a new browser tab. Now, a dialog box opens (without navigating you away from the calendar) and displays only the eligibility details that pertain to the current appointment, and it displays the information in an easy-to-consume format.
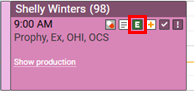
After you click the “E” icon, in the dialog box that appears, select a network plan from the Select Network list.
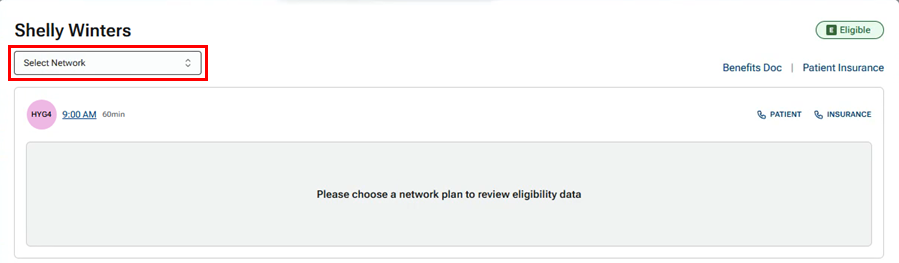
Then, the corresponding eligibility data appears.
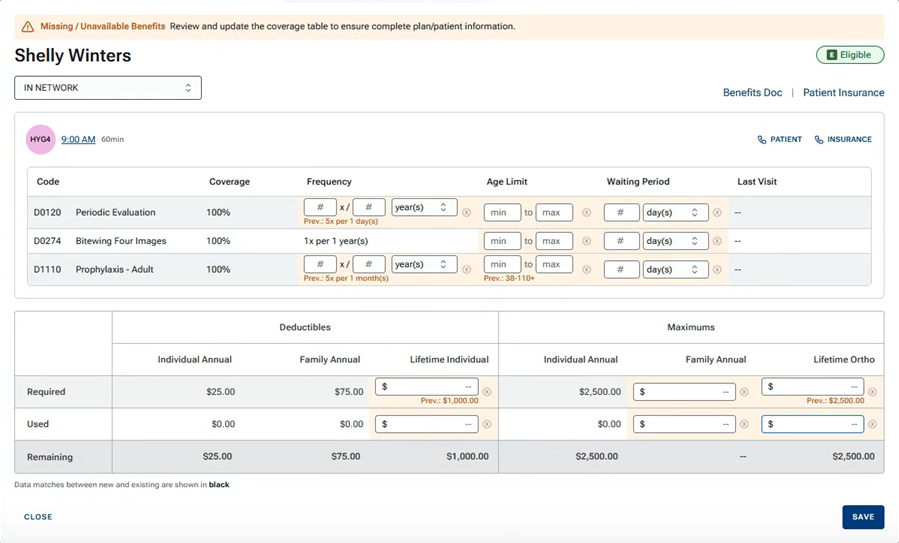
The patient’s name appears in the upper-left corner.
Just above the upper section, on the right, a link to the benefits doc may appear, and a link to the patient’s insurance appears.
In the upper section, the appointment provider, time, and length appear on the left. A link to view the patient’s contact information, a link to view the insurance carrier’s contact information, and an eligibility status icon appear on the right.
The following can also appear:
- In the upper section, if any procedures are associated with the appointment, those appear. For each procedure, the coverage details appear if available in the payer’s response.
- In the lower section, the deductibles and maximums appear as applicable if available in the payer’s response.
Notes:
- If a value from the payer’s response differs from what is in the patient’s record, that value is highlighted in orange, and the previous value (the value from the patient’s record) appears for your reference. You can edit that value as needed.
- If a value from the payer’s response is missing or unavailable, that value is highlighted in orange. You can add a value as needed.
- If a value from the payer’s response matches what is in the patient’s record, that value is displayed. You cannot edit that value.
You can do any of the following:
- For a procedure, add or edit values (for Coverage, Frequency, Age Limit, and/or Waiting Period) as needed (where allowed).
- For the Deductibles, add or edit values (the Required and/or Used amounts for Individual Annual, Family Annual, and/or Lifetime Individual) as needed (where allowed).
- For the Maximums, add or edit values (the Required and/or Used amounts for Individual Annual, Family Annual, and/or Lifetime Ortho) as needed (where allowed).
- Click the Patient link to view contact information for the patient.
- Click the Insurance link to view contact information for the insurance carrier.
- Click the Benefits Doc link to open the eligibility document on a new browser tab. This link is available only if the eligibility status for the patient’s insurance plan was not changed manually.
- Click the Patient Insurance link to open the patient’s Insurance Information page on a new browser tab. Remember to close that tab after you are done viewing the information.
Notes:
- Editing procedure coverage details and editing required amounts for deductibles and maximums require the “Edit Benefits” security right.
- Editing used amounts for deductibles and maximums requires the “Edit Ins. Benefits for Patient” security right.
- If you do not have both of these security rights, the Missing/Unavailable Benefits banner at the top of the dialog box does not appear, and none of the values are editable.
When you are done viewing and editing the eligibility information for the appointment, to close the dialog box and save any changes that you made, click Save (in the lower-left corner).
Notes:
- If you click Close, any changes that you made will not be saved.
- After you click Save, the values in the dialog box are no longer editable. If you re-open the dialog box, a green Eligibility Information Successfully Saved banner appears at the top, informing you of the date the information was saved and that further updates must be made to the plan at the carrier level or in the patient’s record.
- For up to 30 days, you can review changes as explained in the Help topics about Reviewing updated plan options from an import and Reviewing updated met deductibles and used benefits from an import.
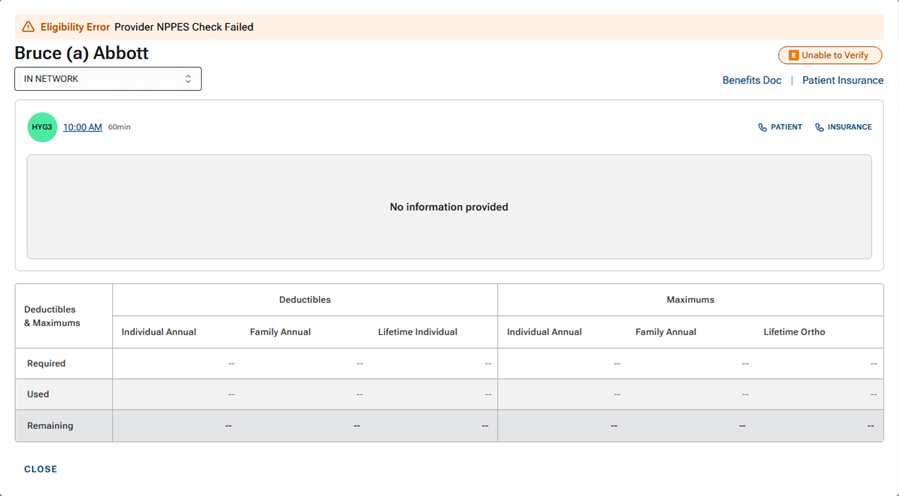
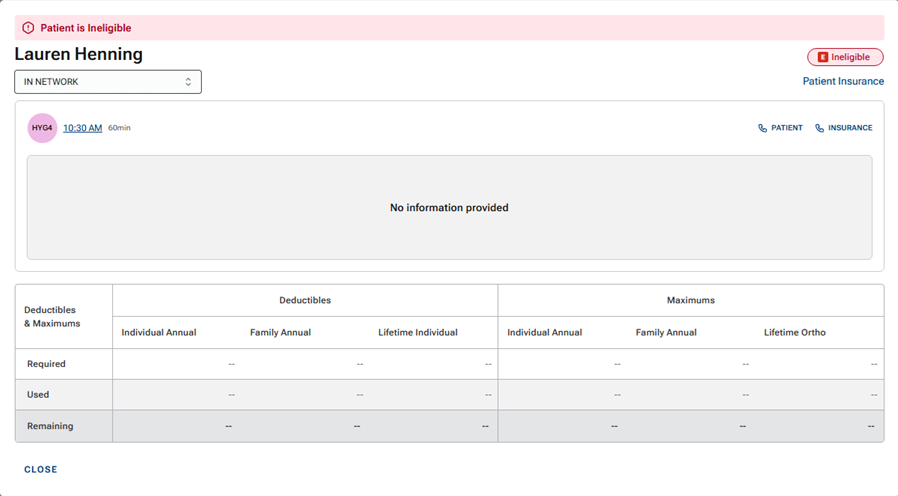
The following images are examples of what the dialog box looks like when you click an appointment’s “E” icon if the eligibility status is “Unable to Verify” or “Ineligible.”