Released 10/22/25
Important Note: Some of the new features and enhancements may require an updated acquisition agent. For instructions on checking for updates, refer to the “Updating the acquisition agent” Help topic.
Acquisition Options Page Enhancements
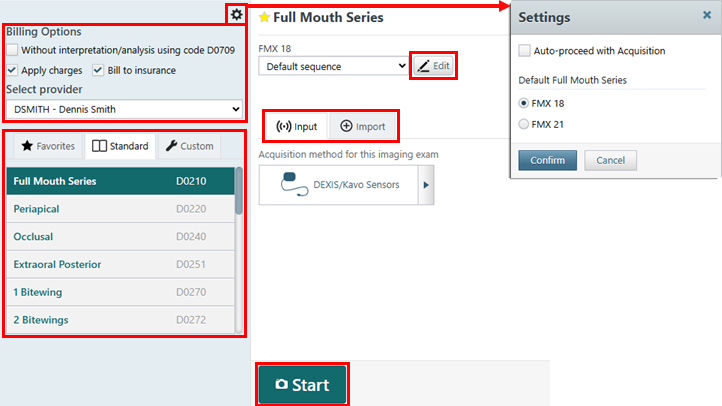
- At the top of the left panel, there is now a Settings button (cog icon) you can click to set the default options for acquisitions (see “Configuring Default Acquisition Options” below).

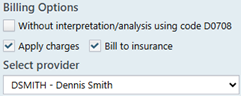
- The Billing Options (Without interpretation/analysis…, Apply charges, and Bill to insurance) and the Select provider list have been moved to the top of the left panel. They are now above the list of imaging procedures.
- For an imaging procedure (such as Full Mouth Series) with an acquisition sequence list, next to the list, the cog icon is now the Edit button.

- For an imaging procedure (such as 1 Bitewing) that requires teeth to be selected, “Acquisition Options for” has been replaced with “Choose”. For other imaging procedures, “Acquisition Options for” is now omitted.

- For 1 Bitewing, on the tooth selection chart, BW checkboxes for selecting the most common teeth for bitewings are now available.

- The “Task to Perform” section heading has been removed.
- The Acquire Images tab is now the Input tab, and the Import Images tab is now the Import tab.

- The Proceed with Acquisition button is now the Start button.

- Some tabs and buttons now have icons on them.
- Green colors are now included in the theme.
Before

Now
Configuring Default Acquisition Options
1. Click the Settings button (cog icon).
The Settings dialog box appears.
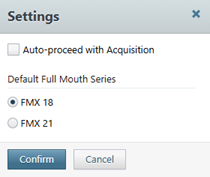
2. The Auto-proceed with Acquisition option is now located here. Select or clear the checkbox.
3. You can also now specify the default sequence to use for a full-mouth series. Under Default Full Mouth Series, select FMX 18 or FMX 21.
4. Click Confirm.
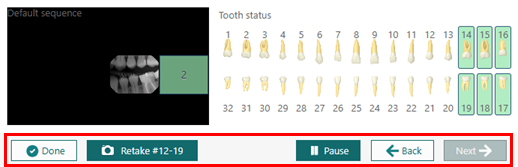
Acquisition Page Enhancements
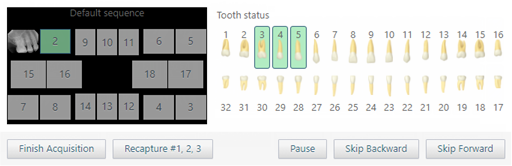
On the page for acquiring images, the buttons have been renamed, now include icons, and have different colors.
Waiting for first exposure – Before

Waiting for first exposure – Now

After first exposure – Before
After first exposure – Now
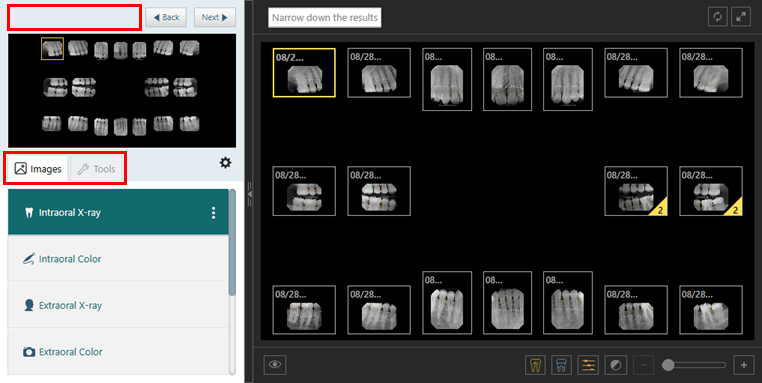
Exam View Enhancements
- The Images and Tools tabs now have icons on them.
- Green colors are now included in the theme.

Modality View Enhancements
- The label above the image navigator has been removed.
- The Images and Tools tabs now have icons on them.
- Green colors are now included in the theme.
Displaying Tooth Numbers as Ranges
There is now a setting that allows you to specify if you want to display tooth numbers as ranges or individual numbers.
To change this setting
1. While you are viewing a patient’s image history, next to the Images and Tools tabs on the navigation panel, click the Settings button (cog icon).

The Settings dialog box appears.
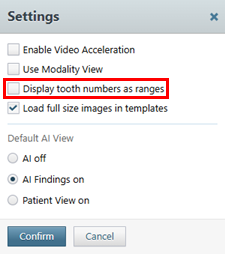
2. For Display tooth numbers as ranges, do one of the following:
- Leave the check box clear to continue to have tooth numbers displayed individually.
- Select the check box to have tooth numbers displayed as ranges.
3. Click Confirm.
With the check box clear


With the check box selected


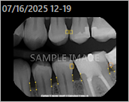
Acquisition Date and Tooth Numbers on Exported Images
The acquisition date and tooth numbers now appear as captions on images that have been exported from Dentrix Ascend Imaging. Having this information on images that are attached to a claim can help prevent that claim from being rejected.
Displaying tooth numbers individually
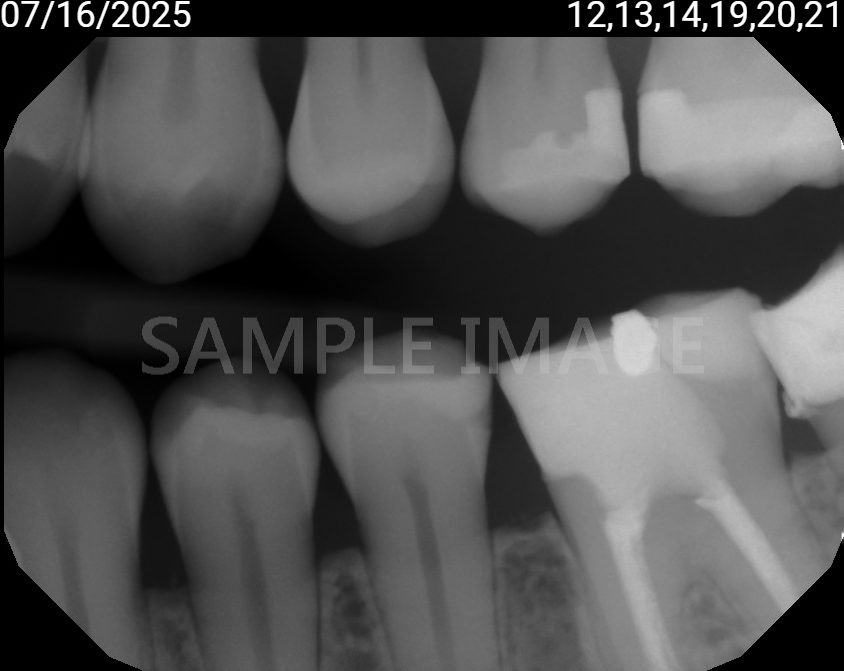
Note: The file name has individual tooth numbers.

Displaying tooth numbers as ranges
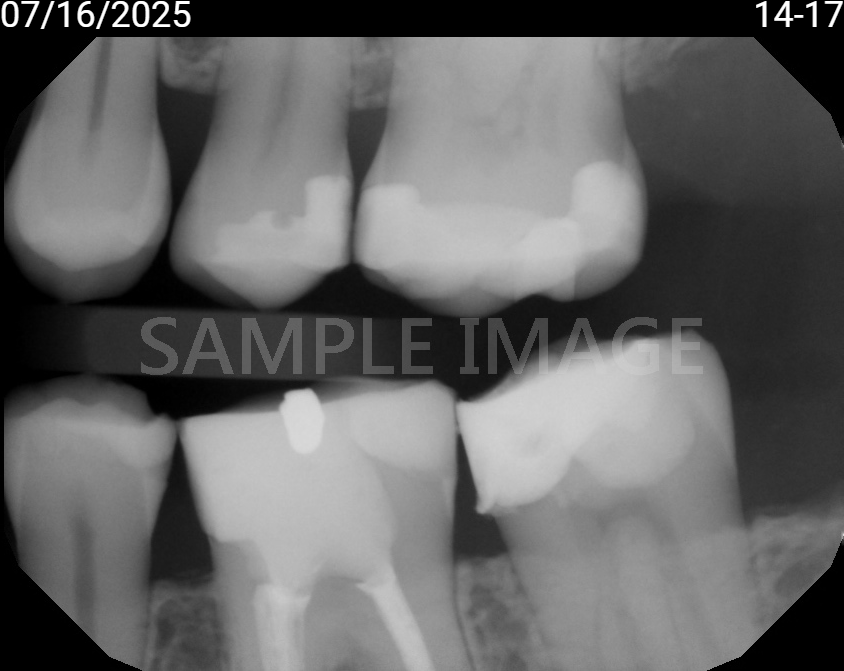
Note: The file name has a range of tooth numbers.

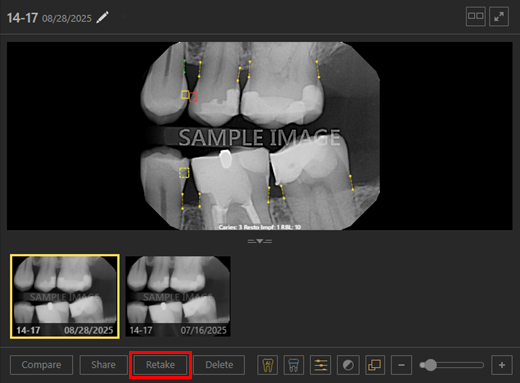
Recapture Button Renamed
When you are viewing an individual image, the Recapture button is now the Retake button.
Modality View – Overview – Viewing an Individual Image
If you are using the Modality view, with the Overview tab selected, clicking an image in the Intraoral X-ray box takes you to the single-image view for that image.
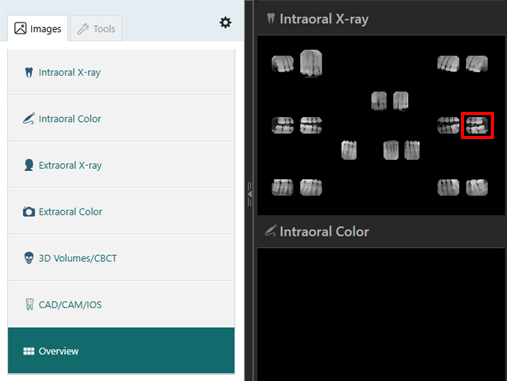

Note: Clicking anywhere on the background of the box (where there is not an image) still takes you to the view for that modality.


Modality View – Overview – Intraoral X-ray Images Layout Matches Modality Options
If you are using the Modality view, with the Overview tab selected, the layout for the Intraoral X-ray images now matches the options specified for that modality (such as anatomical or tiled).
In this example, the modality options in use are Anatomical and FMX 21.
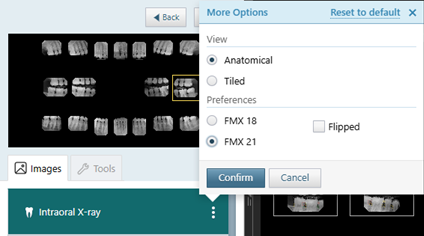
The Overview for that modality matches.

Miscellaneous
- Added support for importing DICOM 2D files.
- Restored the acquisition status message “Uploading to AI Provider” for indicating when AI results are being submitted.

- Added an Open in App option to the AIS software bridge to allow you to open that program directly to the patient instead of the volume, enabling a more streamlined workflow.
- For CAD/CAM Scan, added support for the Dentsply Sirona DS Core software bridge to enable integration with DS Core.

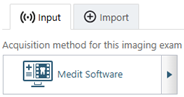
- For CAD/CAM Scan, added support for the Medit software bridge to enable integration with Medit Link.
- Added support for the 64-bit version of the EzDent-i software bridge.
- Removed sequence text from the acquisition page for 4 Bitewings to match formatting of other acquisition types.
- The acquisition agent installer now logs all actions and errors.
- AI telemetry events now include the organization ID, location ID, user ID, patient ID, image viewed events, AI provider data, and annotation status.
- You can now select DEXIS/Kavo Sensors as the acquisition device to use DEXIS Platinum sensors without the Titanium drivers installed.
Fixes
This release resolves the following issues:
- Not All Tooth Numbers Are Applied Using Auto-proceed – Not all tooth numbers are applied to acquired images when the Auto-proceed with Acquisition option is used. (AI-4529)
- AJAX Error When Attempting to Sync Offline Images – When you are attempting to sync offline images, changing the provider for an exam in offline mode triggers an AJAX error. (AI-4538)
- Show/Hide Annotations Button Is Missing – The Show/hide annotations and measurements button does not appear in single image mode whenever annotations or measurements exist unless the Load full size images in templates option is enabled. (AI-4539)
- Auto-proceed Occurs After Creating Custom Procedure – If the Auto-proceed with Acquisition option is enabled, after you create a custom procedure, the acquisition starts automatically instead of the procedure only being selected in the list. (AI-4566)
- Error Acquiring 3D Volume – The following error occurs when you attempt to acquire a multi-file volume: “Uncaught ReferenceError: JSZip is Not Defined.” (AI-4598)