Released 5/13/26
You can now filter the deposit slip by location and by user so you can have more control over what appears on the deposit slip and research payment discrepancies.
To generate a deposit slip
1. On the Home menu, under Reports, select Deposit Slip.
The Deposit Slip Report page opens.
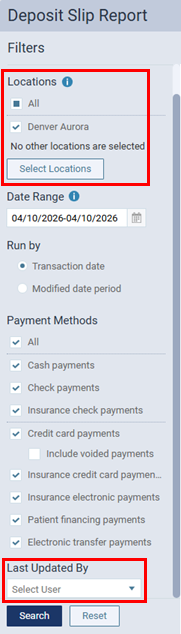
The following options are new:
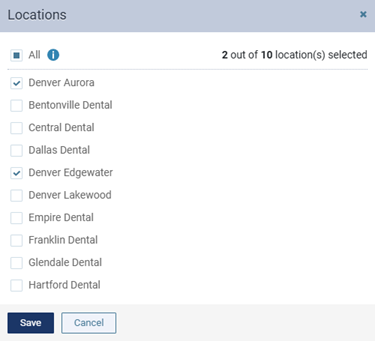
Locations
The payments and totals for the selected locations. Do one of the following:
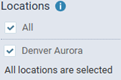
- To include all locations, select the All checkbox.
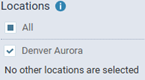
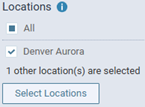
- To include only the location that you are currently logged in to, select the checkbox of the current location.
- To include specific locations, click (or tap) Select Locations to open the Locations dialog box, select the checkbox of each desired location, and then click (or tap) Save.
Notes:
- Only the locations that you have access to are available.
- At least one location must be selected.
- If multiple locations are selected, the payments and totals are grouped by location.
- If multiple locations are selected, the Date Range must be one month or less.
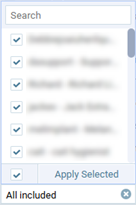
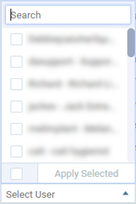
Last Updated By
The users who have entered or modified payments. Do one of the following:
- To include all users, select the checkbox at the bottom of the list, and then click Apply Selected.
- To include specific users (up to 2000), select the checkbox of each desired user on the list, and the click Apply Selected.
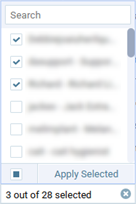
- To remove the user filter if users are selected, clear the checkbox at the bottom of the list, and then close the list.
Notes:
- To quickly locate a user in the list, when you expand the list, you can begin typing part of a username or a user’s first or last name in the search box at the top of the list.
- If you are running the deposit slip by Transaction date:
- If there are revisions for a given payment, the payment is included if one of the selected users made the most recent revision to that payment on a date that is within the specified Date Range.
- If there are no revisions for a given payment, the payment is included if one of the selected users entered that payment on a date that is within the specified Date Range.
- If there are revisions for a given payment, the payment is included if one of the selected users made the most recent revision to that payment on a date that is within the specified Date Range.
- If you are running the deposit slip by Modified date period:
- If there are revisions for a given payment, the payment is included if one of the selected users made a revision to that payment on a date that is within the specified Date Range.
- If there are no revisions for a given payment, the payment is included if one of the selected users entered that payment on a date that is within the specified Date Range.
- If there are revisions for a given payment, the payment is included if one of the selected users made a revision to that payment on a date that is within the specified Date Range.
2. Set up other options as needed.
3. Click Search.
The report details appear.
The report now has two views: Report View and Grid View.
Report View
This view is similar to the view in previous versions.
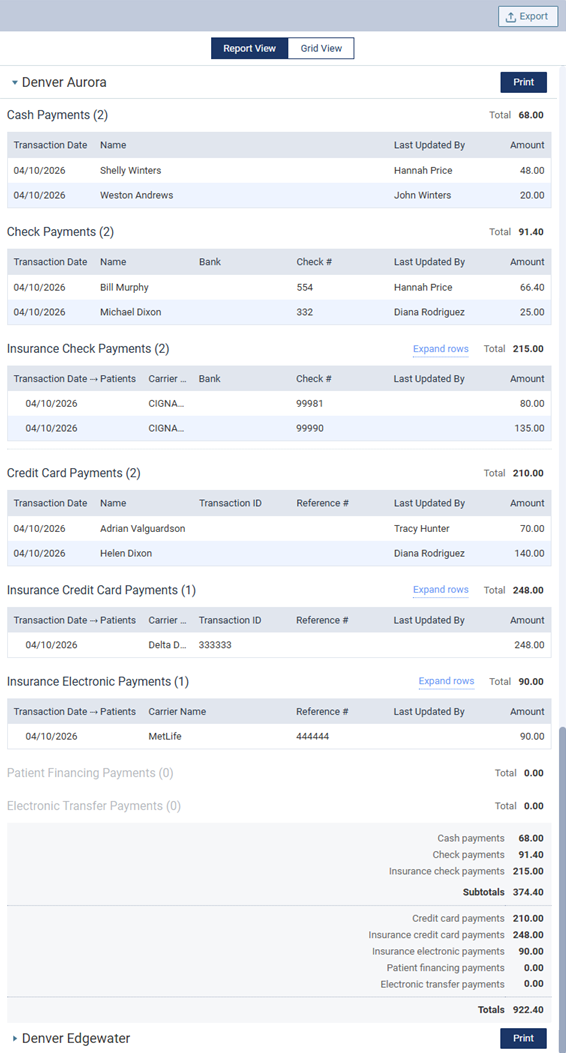
Each location on the deposit slip is now a section that you can collapse and expand as needed.
For each payment method, there is now a Last Updated By column.
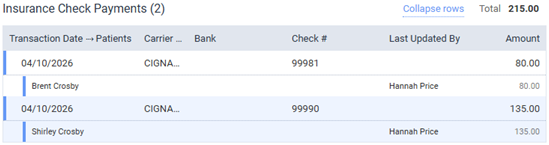
You can still expand or collapse all payment rows in certain sections, click the Expand rows link or the Collapse rows link, respectively.


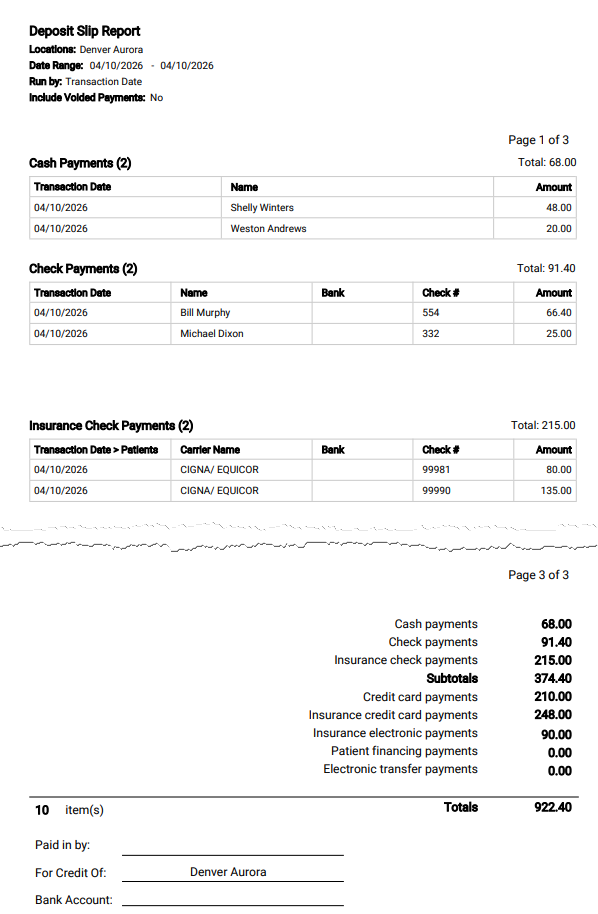
There is no longer a Print button next to the Export button at the top. There is now a Print button for each location so you can print the deposit slip for each location separately. When you click a location’s Print button, a PDF document opens on a new browser tab. The printed deposit slip looks the same as before.
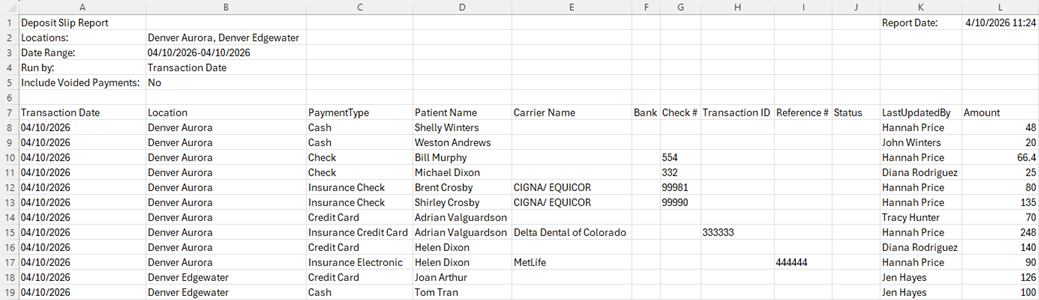
Grid View
This view lists each payment by transaction date. You can sort the list by any of the available details (such as location or payment type). A total of all payments in the list appears at the bottom.
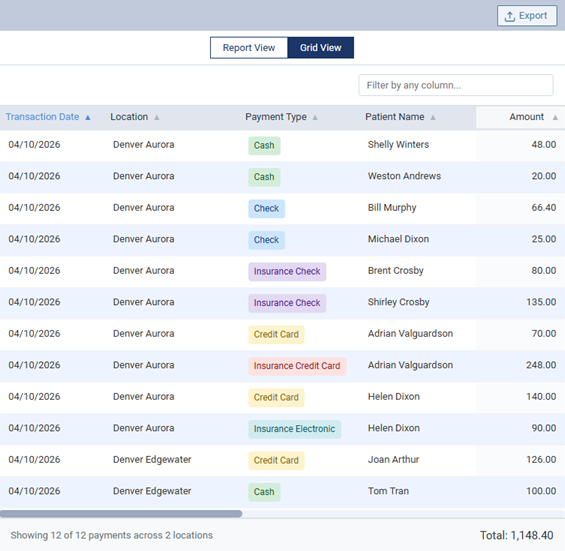
To filter the list to display only the payments that match specific text, in the Filter by any column box, begin typing part of a transaction/modified date, location, payment type, patient name, carrier name, bank, check number, transaction ID, reference number, or user’s name. Continue typing as needed to narrow down the list further. To return to viewing the full list, delete the text from the Filter by any column box.
Exporting the deposit slip
You can still export the deposit slip as before (by clicking Export), but the information in the generated .csv file is different from before. You can export the deposit slip while using either the Report View or the Grid View; the information in the exported file is the same regardless of which view you are using.