Released 8/7/25
You can now create time pattern templates that can be applied to appointments, so you no longer have to define a time pattern for every appointment Individually.
Notes:
- Time pattern templates are location specific. You must define templates for each location, and only the templates that correspond to the location in which an appointment is scheduled (or is being scheduled) can be applied to that appointment.
- For information about the initial release of appointment time patterns, see the “Appointment Time Patterns” release notes.
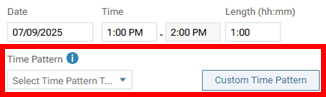
When you are creating or editing an appointment, there are two options for time patterns:
- Time Pattern – Apply an existing template to the appointment, create a new template and optionally apply it to the appointment, or edit an existing template.
- Custom Time Pattern – Apply a custom time pattern to the appointment (existing functionality). Previously, this button was labeled “Add Time Pattern.”
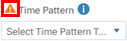
Note: If the appointment’s location differs from the location that you are currently logged in to, an orange warning icon appears next to the Time Pattern list.
Applying a custom time pattern (not using a template)
1. Click Custom Time Pattern.
The Apply Custom Time Pattern dialog box appears. Previously, this dialog box was titled “Add Time Pattern.”
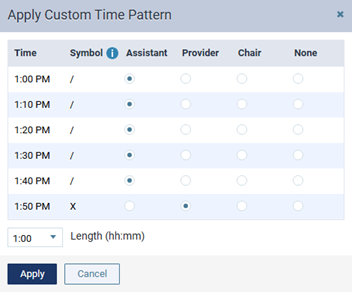
2. Set up the pattern, and then click Apply.
Applying a time pattern using an existing template
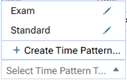
1. Expand the Time Pattern list.
Note: Only templates that pertain to the appointment’s location and that are the same length (duration) as the current appointment are available for selection.
2. Select the desired template.
Creating a template (and optionally applying it)
1. On the Time Pattern list, select Create Time Pattern.
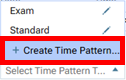
The Create Time Pattern Template dialog box appears.
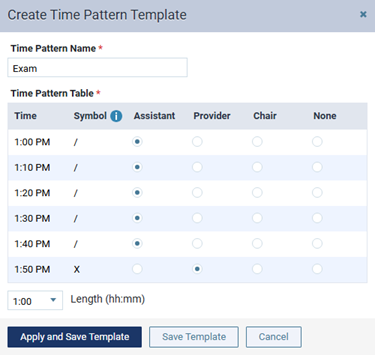
2. Enter a Time Pattern Name to identify the template in the location that the appointment pertains to.
Note: The template name must be unique to the location.
3. Set up the pattern.
4. Do one of the following:
- To save the template and apply the time pattern to the appointment, click Apply and Save Template. (Note: If the template length differs from the appointment length, the appointment length is changed.)
- To save the template without applying the time pattern to the appointment, click Save Template.
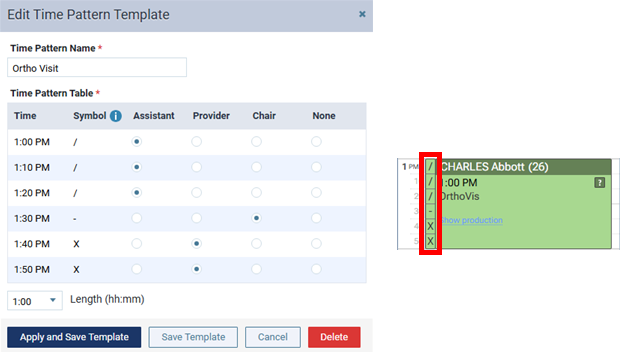
Editing a template
1. On the Time Pattern list, click the Edit icon (pencil) of the template that you want to edit.
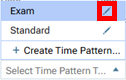
The Edit Time Pattern Template dialog box appears.
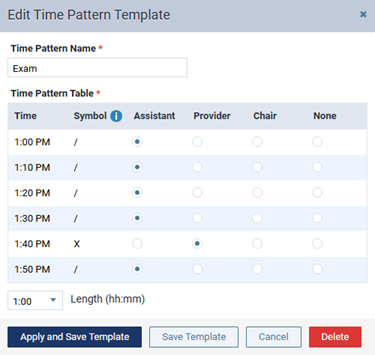
2. Make the necessary adjustments to the template.
3. Do one of the following:
- To save the changes to the template and apply the time pattern to the appointment, click Apply and Save Template. (Note: If the template length differs from the appointment length, the appointment length is changed for this appointment but not for other appointments that this template was applied to.)
- To save the changes to the template without changing the appointment’s time pattern or length (if applicable), click Save Template.
A confirmation message appears.
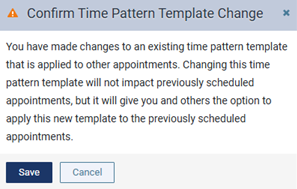
Note: If you want to change the time pattern and/or length of other appointments that this template was applied to, you must do so for each of those appointments separately.
4. Click Save.
Time pattern bar color
The color of the time pattern bar (on the left edge of an appointment tile) now matches the appointment’s color.