Released 8/27/25
When you are adding an exception in a coverage table, you can select multiple procedures (existing functionality), but now you can select procedures that already have an exception for the type of exception (such as frequency limitation) that you are adding. When you save the exception, if any procedure selected for that exception has an existing exception of the same type, that exception will be replaced with the new exception.
To add coverage table exceptions
1. While you are editing an insurance plan (go to Home > Carriers, select a carrier, and then select a plan), click Coverage Table.

The Coverage Table for [Plan Name] dialog box appears.

2. Click Manage Exceptions.
The Manage Exceptions for [Plan Name] dialog box appears.
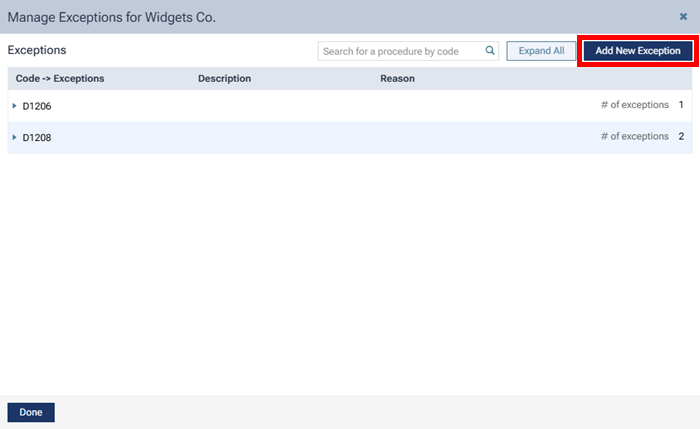
3. Click Add New Exception.
The New Exception for Procedure(s) in [Plan Name] dialog box appears.
4. For Exception Type, select Frequency or Age limitation, and then click Next.

5. For Select Procedure(s), select the checkboxes of the procedures that apply to this exception, and then click Next.
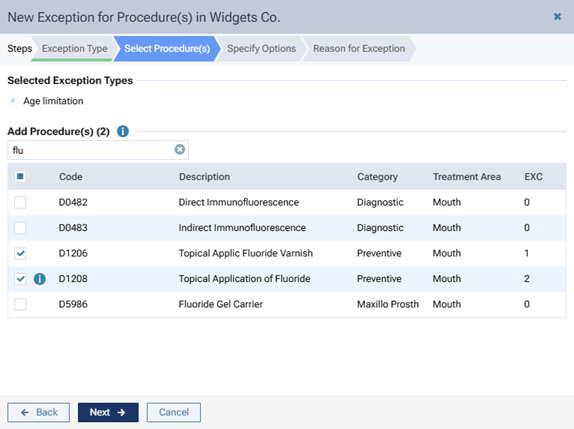
Previously, only the procedures that did not have an exception were available for selection.
Now, if an exception of the same type already exists for a given procedure, the checkbox for that procedure is available for selection, and an “i” icon appears next to that checkbox. Selecting that procedure’s checkbox will replace the existing exception of the same type for that procedure with the exception you are currently adding.
6. For Specify Options, set up the applicable options (if any), and then click Next.

7. For Reason for Exception, enter the reason for the exception in coverage for the selected procedures, and then click Done.

8. Click Done.
9. Click Save.